How to make soft Rotis or Chapatis like a pro!
Note: This post contains affiliate links. As an Amazon Associate I earn from qualifying purchases.
Roti or Chapati recipe – Are your rotis turning out like frisbees? Follow this video tutorial to make soft rotis or chapatis every time.

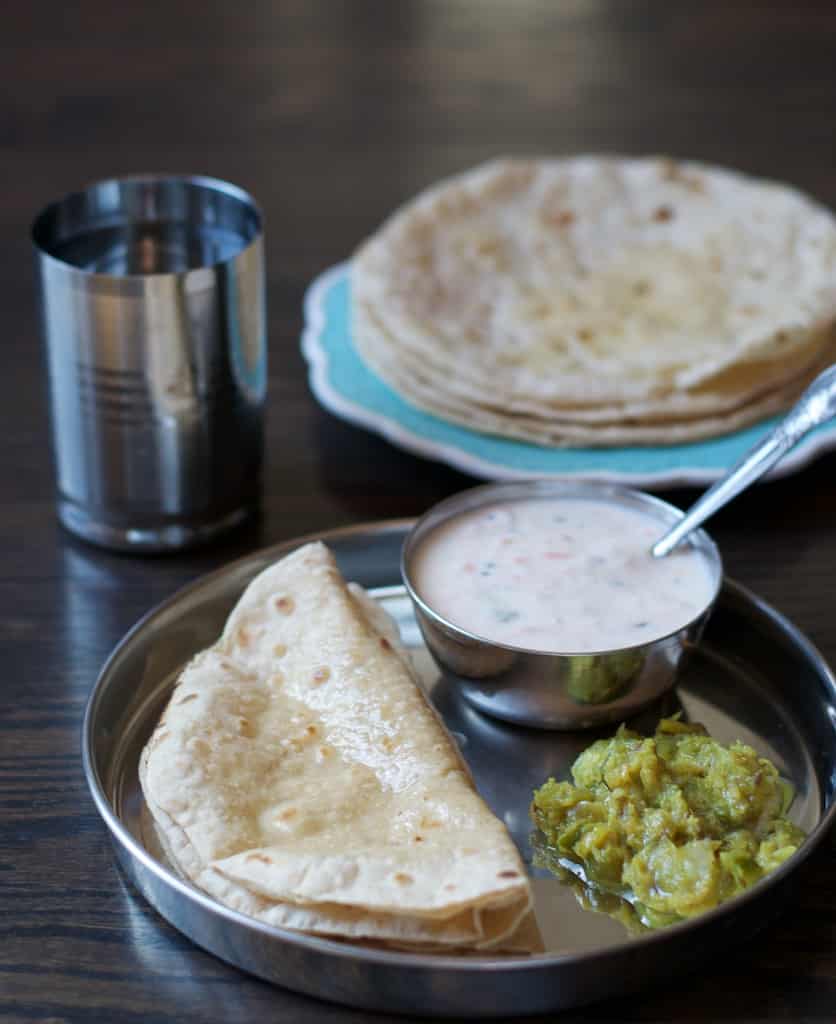
For those new to Indian cuisine, Rotis also called Chapatis are unleavened bread made from whole wheat flour. You can compare them with the Tortillas in appearance and use. Often served with a side of vegetables or chicken, this Indian flatbread is an integral part of the South Asian cuisine.
What you’ll learn in this post
- Equipment needed to make chapatis
- How to make rotis round
- How to make soft rotis
- How to fix issues with roti dough
- How to store roti dough
- How to store roti
Equipment needed to make chapatis
How to make soft rotis or chapatis like a pro
When I arrived in the US as a student, I had no experience in making them, and initially, the chapatis I made were a disaster; nowhere close to the round shape and they were so hard that I could probably use them like a frisbee.
Mom, relatives, and my more experienced friends told me it was all about practice, patience and kneading the dough to a state where it was neither too hard nor soft. Not satisfied with their answer, I googled up and found all kinds of tips or tricks to make soft rotis or chapatis such as using milk, hot water, etc.
I tried them all that but none of them helped until with time and practice, I figured out the following tips to make soft rotis.
There are 2 parts to make THE perfect roti – getting the shape right and making it soft.
How do I make the rotis round?
- Always flatten your balls before starting to roll them.
- Roll them in a circular motion (see the video below) putting more pressure on the sides than the center. To master the circular motion requires practice so instead use this workaround – rotate the dough as you are rolling them out so that they are uniformly spread out.
- If the rotis are sticking to the base, sprinkle flour. Make sure you dust off the flour before placing the chappatis in the pan.
- Other options
- Use a plate or bowl with sharp edges – Roll the roti and then use a large bowl or a plate-like a cookie cutter to trim the edges.
- Use a tortilla maker – Line the press with plastic wrap, add dough, flatten slightly by hand, close the press, apply pressure with the handle to flatten dough into rounds which are consistent in thickness.
How to make soft rotis
- Use whole wheat flour – I recommend Aashirvaad atta – always yields consistent results or you can make whole wheat flour at home using a flour mill.
- Make sure the dough is soft enough that it leaves an impression when you press your finger against the dough.
- Make sure to knead the dough by hand for a good 10-15 minutes or use knead using a stand mixer for best results.
- Cover the dough with a wet cloth and let it rest for at least 20-30 minutes.
- Evenly roll out the chapati to ensure it is cooked uniformly. It will come with practice – so be patient.
- Use a cast iron griddle – lets the chapati cook evenly.
- Dust off excess flour from the rolled roti before frying in the pan.
- Preheat the pan and always cook over medium heat.
- Brush the chapati with either ghee or olive oil after cooking to keep it soft.
- Practice, Practice, and Practice -Your 25th roti will be a lot perfect than your first one.
Troubleshooting issues with roti dough
- Dough issues –
- If you are having difficulties rolling the rotis because the dough is too soft, then add a tablespoon of flour and knead again till all the flour is absorbed.
- If the dough is sticky, add a tablespoon of flour and knead again till all the flour is absorbed.
- If the dough is too hard – Add a tablespoon of water and knead again. Add more water as needed to get the dough that is soft enough to roll.
- Why is my roti hard? It is most likely because of the following reasons –
- The dough was not soft and pliable
- The dough was not rested
- It was cooked on high heat
- Excess flour was not dusted before frying in the pan

Can we store chapati dough in the fridge?
Yes, definitely.
- Refrigerator – You can store chapati dough in a refrigerator for a day or two. Anything beyond that, I would recommend freezing them in Ziploc. Thaw for about 30 minutes in room temperature or microwave for about 10-20 seconds before using.
- Freezer – Don’t forget to divide them into quantities you typically use before separating and storing them in Ziplocs. Thaw it overnight in the refrigerator before use.
How to store rotis?
- Place a paper towel on a plate or a storage container such as this insulated casserole. Place the first ghee smeared roti on the paper towel and continue to stack the other rotis on top. Cover 3/4 of the container or plate to allow the steam to escape. This prevents the rotis from becoming soggy.
- If storing in a freezer, make sure the rotis are completely cooled off. Store them by placing parchment paper between each rotis and then place them in a Ziploc freezer bag.
These are my favorite side dishes to pair Rotis with –

Roti / Chapati / Phulka Recipe
Ingredients
- 2 cups whole wheat flour
- ¼ teaspoon salt optional
- 2 tablespoons olive oil + 1/4th teaspoon olive oil
- 1 cup water or as needed, at room temperature
For rolling out chapatis
- ¼ cup whole wheat flour for rolling
- Ghee (as needed) optional
Instructions
Making the dough
- Combine 2 cups of wheat flour, salt, oil with 1/4 cup of water in a large bowl. and start kneading. Add water in small increments and continue to knead till the dough comes together as a ball.
- Add 1/4th teaspoon oil to the dough and knead till the oil is absorbed.
- If the dough is sticky, sprinkle approximately 1/4 teaspoon wheat flour (or more if needed) on the dough and knead again to form a dough that is not sticky. The dough should be supple and soft.
- Cover the dough and set aside for 15-20 minutes.
Making the chapatis
- Pull a small piece approximately the size of a golf ball from the dough. Place the piece between the palms of your hands and shape them into a ball. Flatten the ball and cover both sides with flour.
- Roll out the flattened ball into a circular shape that is evenly thin (approximately 7-8 inches in diameter). Dust more flour as needed to help with the rolling.
- Dust off excess flour from the Chapati by placing it on your palm of one hand and then flip it on the palm of your other hand. Repeat this process 3-4 times.
Cooking Chapati
- Heat a medium-sized pan over medium to high heat.
- Place the rolled out chapati in the hot pan. Cook the chapati till small bumps start to form on the surface (approximately 1-2 minutes). Flip the chapati onto the other side and cook for 10 seconds or so until you see bumps.
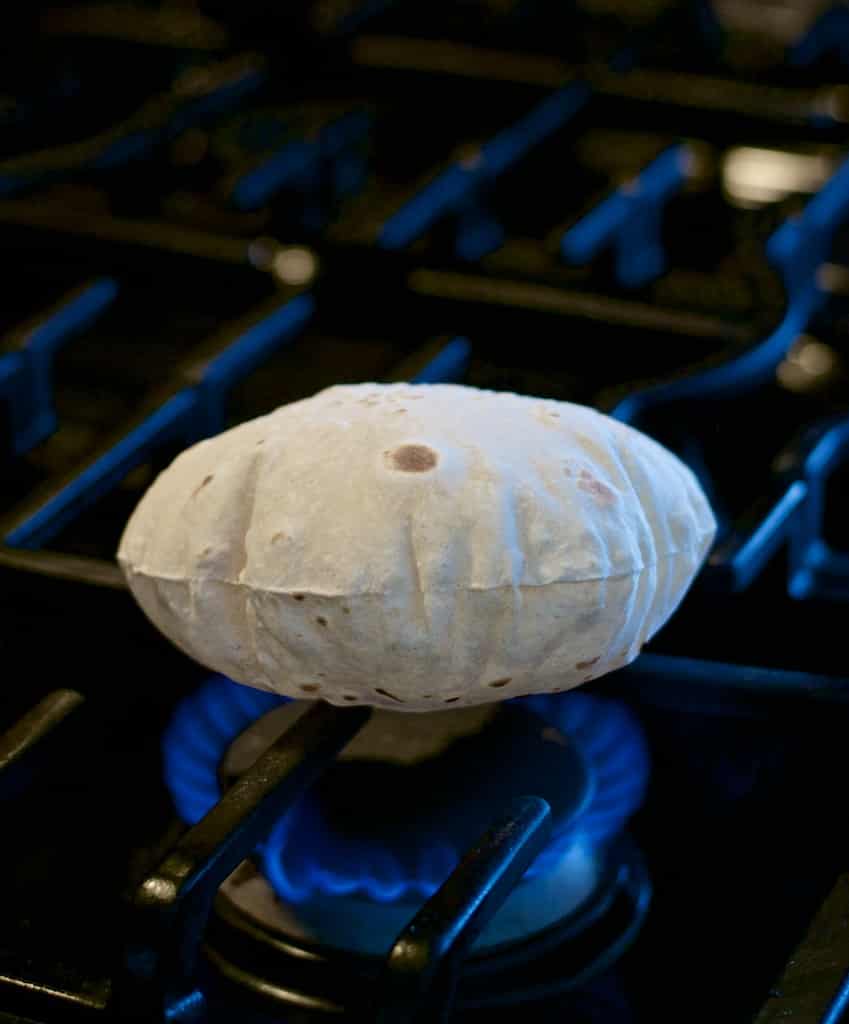
- Set the pan aside and using tongs cook the chapati on an open flame. Note the side that was on top hits the flame first. Once the chapati puffs up, flip to cook on the other side.
- Take the chapati off the flame and brush both sides with ghee and put it in a container that will keep the chapatis warm until you are ready to eat. Repeat this process for the rest of the dough.
- Smear the chapatis with ghee and serve it warm with dal, vegetable or chicken curry.
Video
Notes
- To fasten up the process, roll out the next chapati as one cooks in the pan.
- Make sure to dust off the excess flour off the chapati before you cook it. This ensures that the chapati stays soft.
- Before storing it in an air-tight container, let the chapati cooled down a bit so as to not make it soggy.
- For those with induction cooktop or coiled stove top, here's how you can puff up your roti - Once both sides are cooked, flip the roti again on the pan. Use a clean kitchen towel and press the edges of the roti (not the center) and this will cause the Roti to puff up.
- Make sure you read the sections below for troubleshooting and storage instructions -
Disclaimer: Approximate nutritional information is provided as a courtesy and can vary depending on the exact ingredients/brands used. If you have health issues, please work with a registered dietician or nutritionist.


