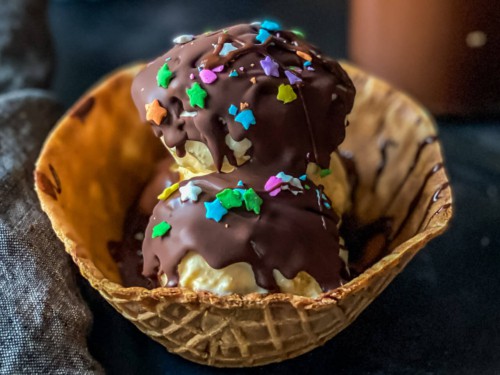
Homemade Chocolate Magic Shell Ice Cream
Note: This post contains affiliate links. As an Amazon Associate I earn from qualifying purchases.
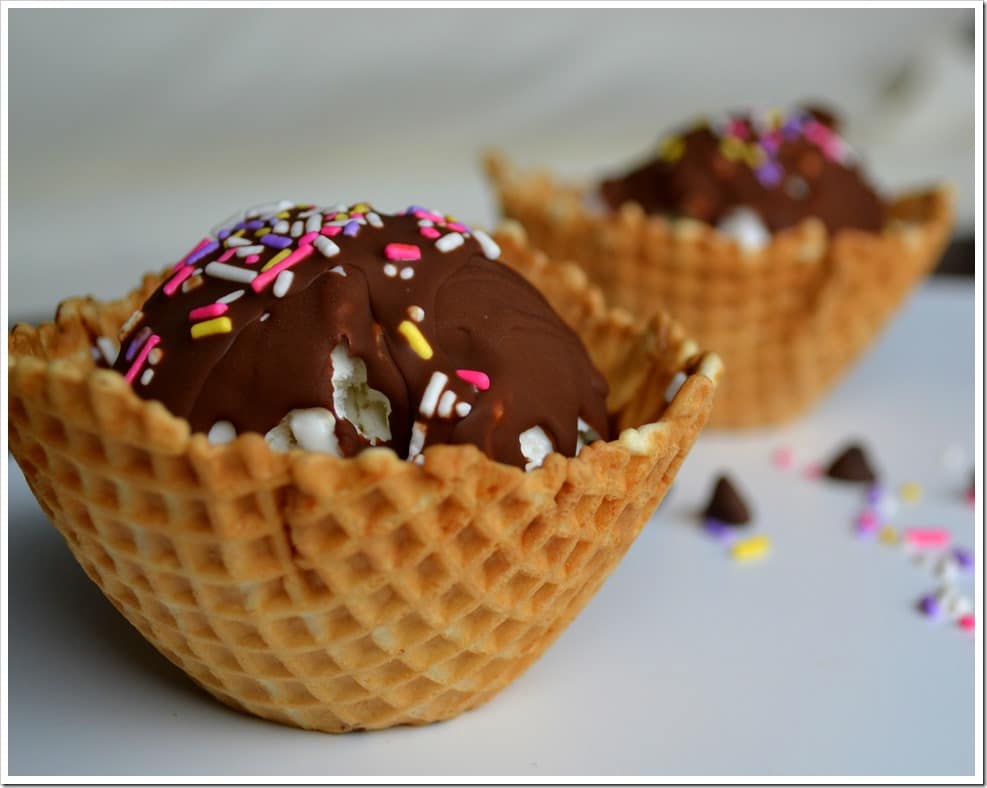
Look no further than this two-ingredient magic shell recipe for all your ice cream topping needs! This homemade sauce magically hardens on ice cream, creating the perfect chocolate shell!
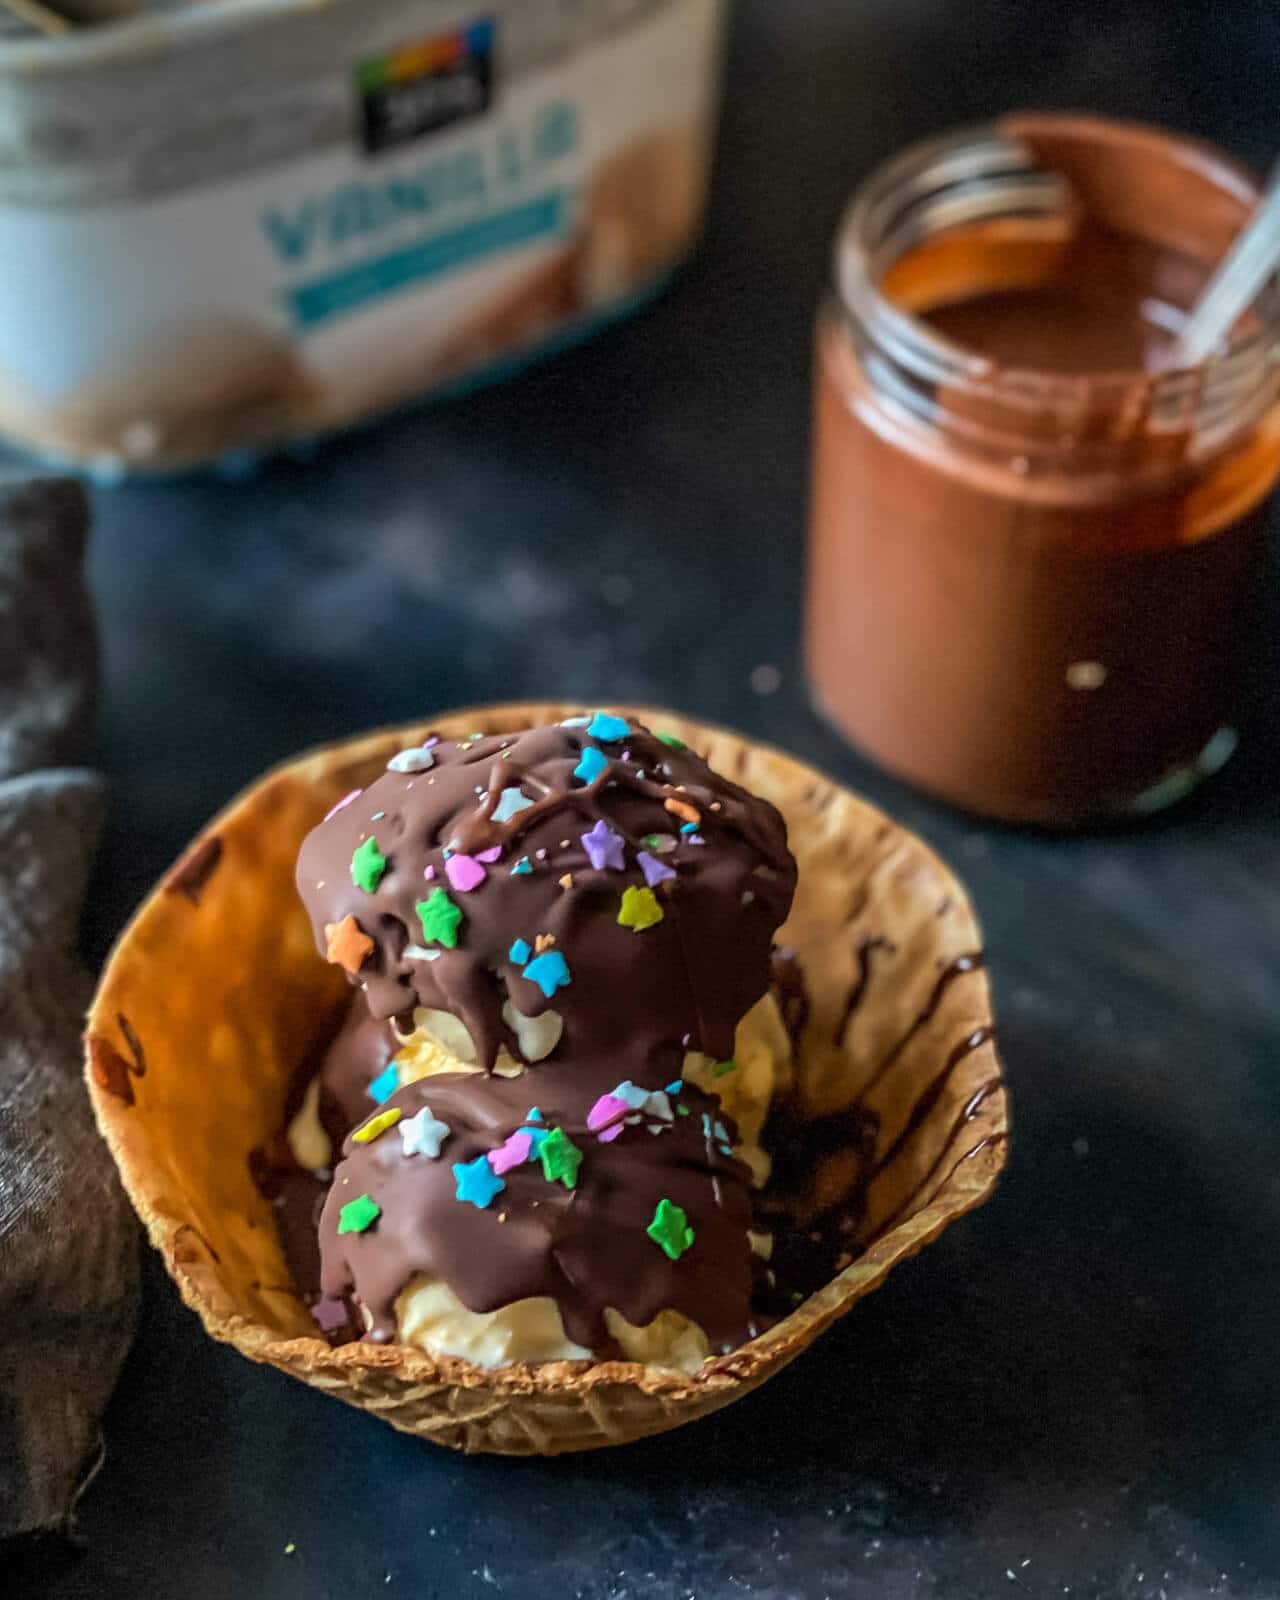
When a recipe includes 2 ingredients and takes less than 2 minutes to make, you know it’s going to be a keeper.
One summer, we stopped by McDonald’s to get our fix of chocolate-dipped soft-serve cones, only to find out they weren’t selling them anymore. Not the one to give up on our favorite treat, I worked on a recipe that would allow us to enjoy chocolate-dipped ice creams at home.
After a quick internet search and some recipe testing, I nailed down the perfect ratio of chocolate and coconut oil to replicate the texture and taste of the chocolate-dipped shell that we couldn’t get enough of. Since then, I have begun making my own at home and have never looked back!
What is a magic shell?
Magic shell is a chocolate syrup ice cream topping that magically hardens when it comes in contact with cold ice cream surfaces.
It creates a chocolate shell covering used to make chocolate-dipped cones and chocolate-coated bowls of ice cream. The most common magic shell on the market is manufactured by Smucker’s and comes in a variety of flavors, such as caramel, chocolate, and chocolate fudge. You can check out the different flavors here.
When was the magic shell invented?
Magic shell first hit the grocery stores in Australia in the 1980s. It was called Ice Magic by Cottees.
Why you will love this chocolate magic shell recipe
As if a crunchy chocolate topping covering a creamy bowl of ice cream isn’t reason enough to enjoy this easy-to-make recipe, here are just a few more reasons you will love making this magic shell at home.
- Only uses 2 ingredients.
- Microwave the ingredients to make this sauce without turning on the oven or stove.
- Healthier than the store-bought magic shell.
- Stores in the pantry in a jar for up to 6 months!
How to make your own magic shell
Ingredients
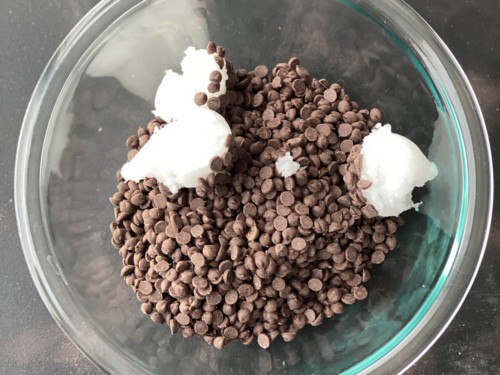
Two ingredients turn a simple scoop of ice cream into a hidden treasure smothered under chocolate, a crunchy topped masterpiece. For this recipe grab:
- Chocolate chips – I like to use a mix of semi-sweet and milk chocolate.
- Coconut oil – Use liquid or melted solid coconut oil to mix with the chocolate.
Directions
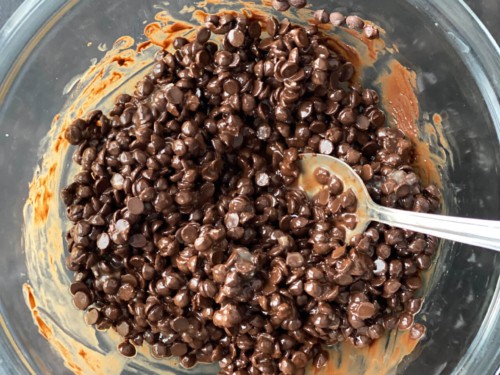
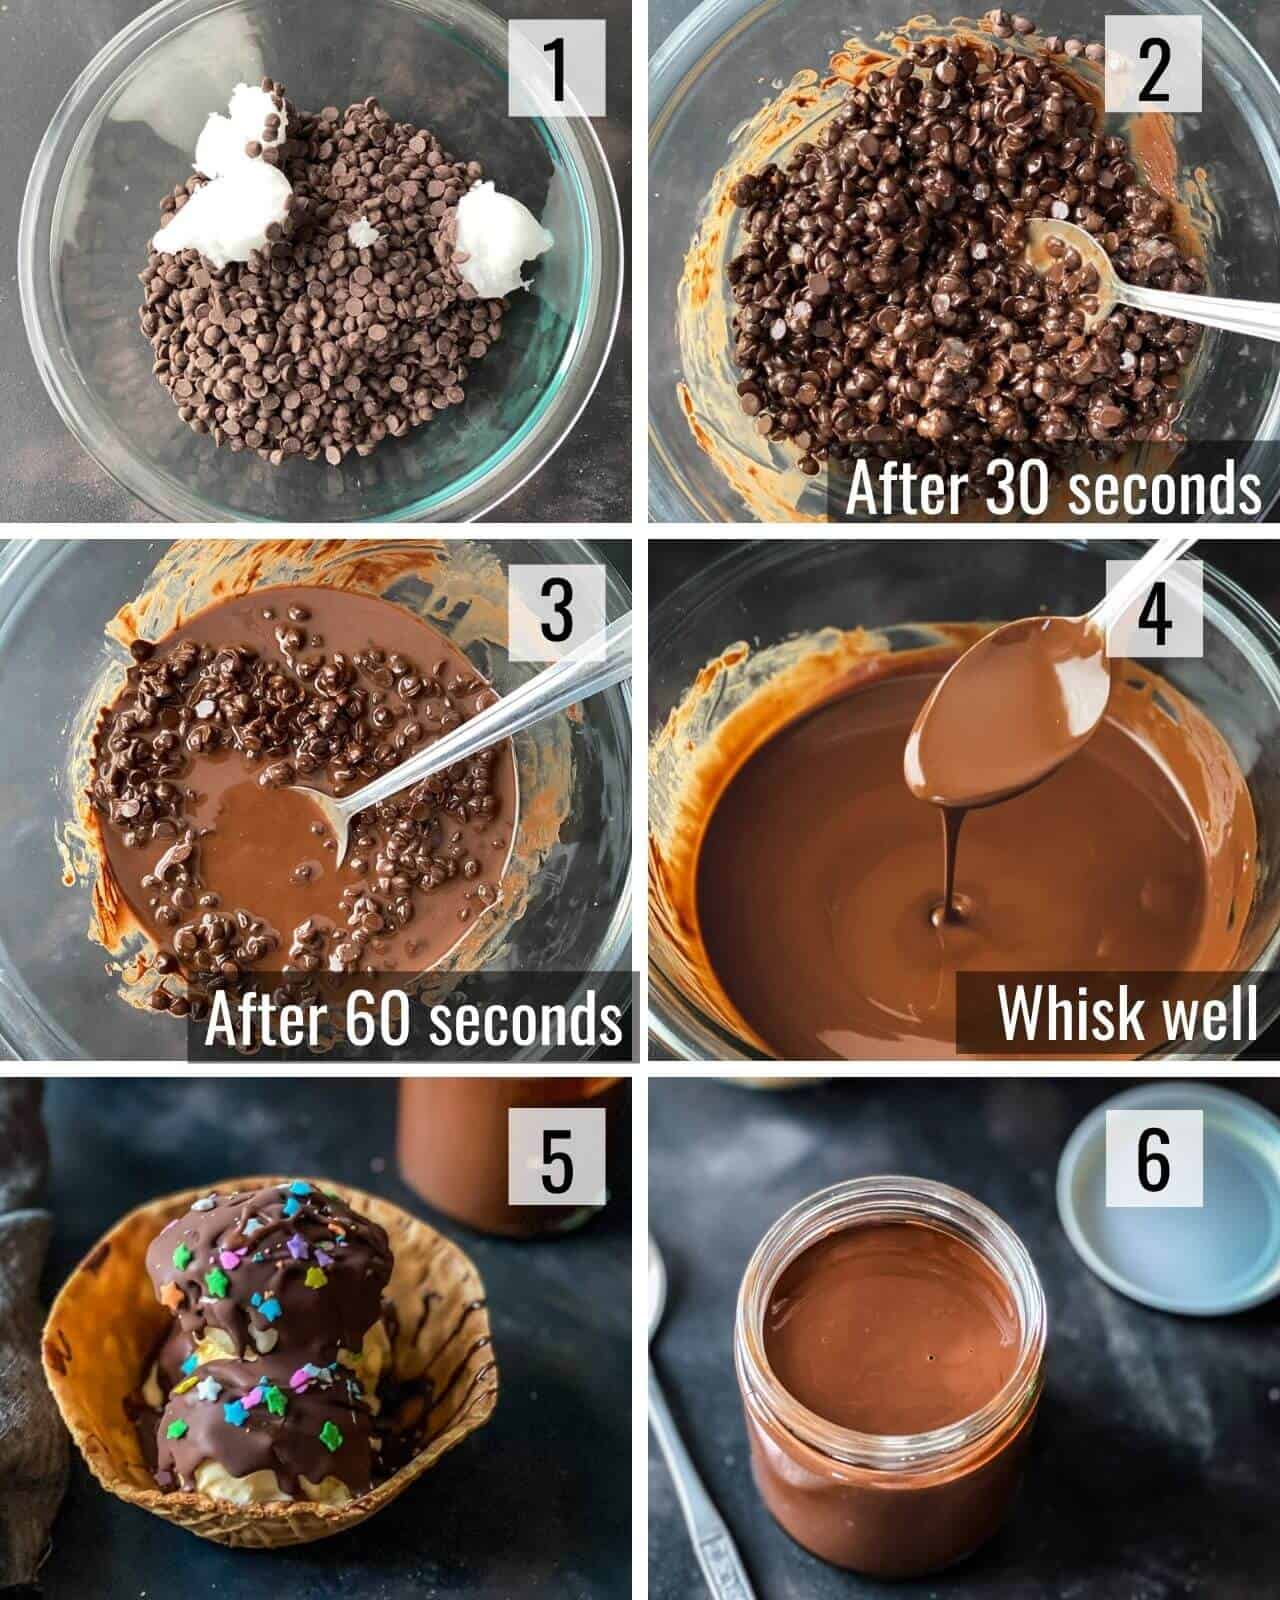
- Mix 2 cups chocolate chips with 1/2 cup coconut oil in a microwave-safe bowl. Heat the mixture in the microwave for 30 seconds.
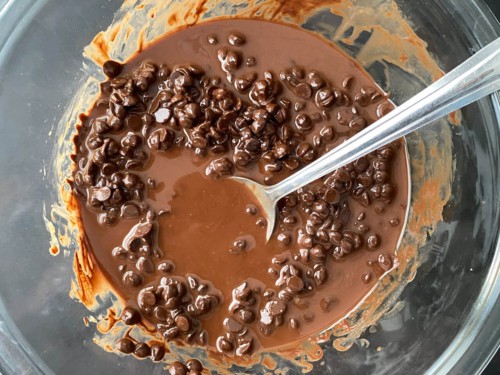
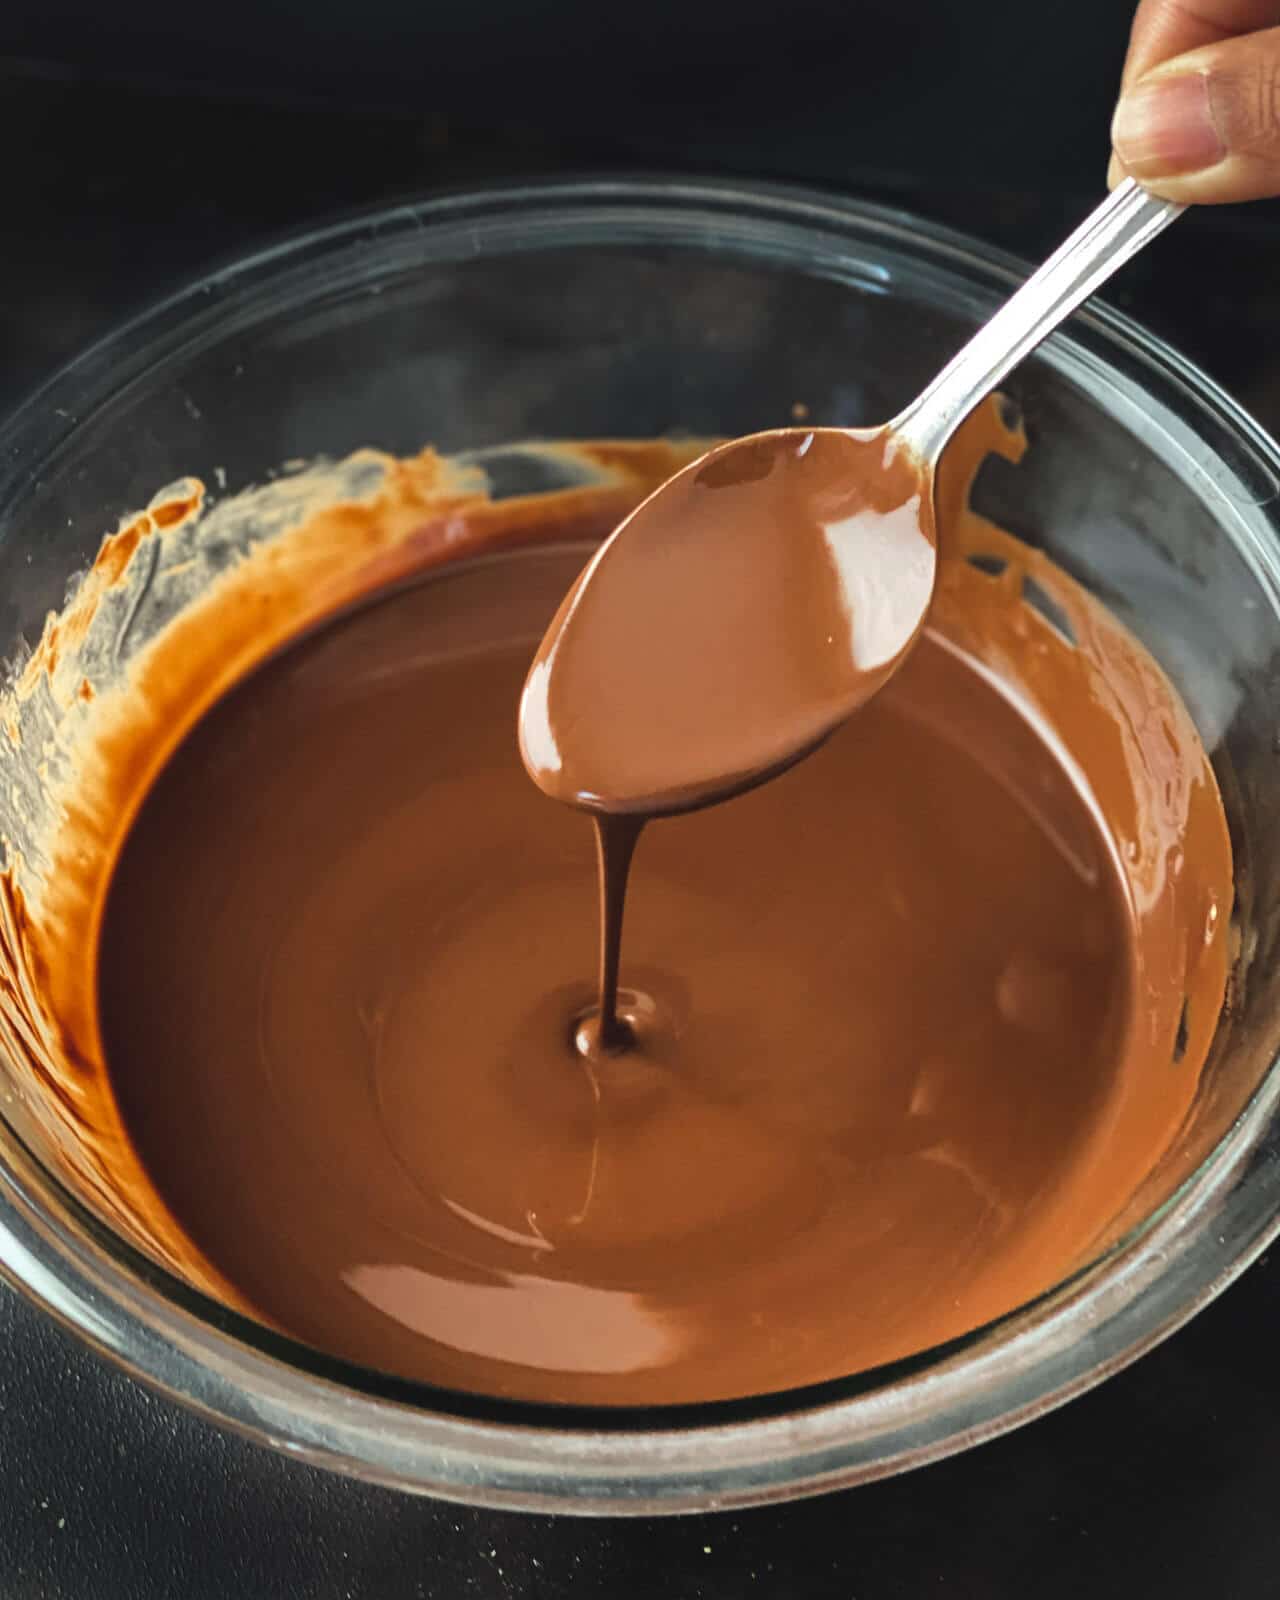
- Remove from the microwave and mix together well. Then, return the bowl to the microwave and heat for an additional 30 seconds. Stir the mixture until smooth.
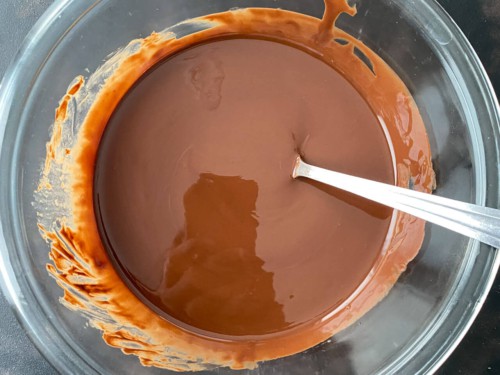
- If you still see chocolate morsels, microwave for another 15 seconds till the chocolate sauce is a smooth, free-flowing mixture.
- Allow this mixture to cool for about 5 minutes.
- Spoon this delicious chocolate sauce on top of a fresh scoop of ice cream and watch as the sauce hardens into a magic shell.
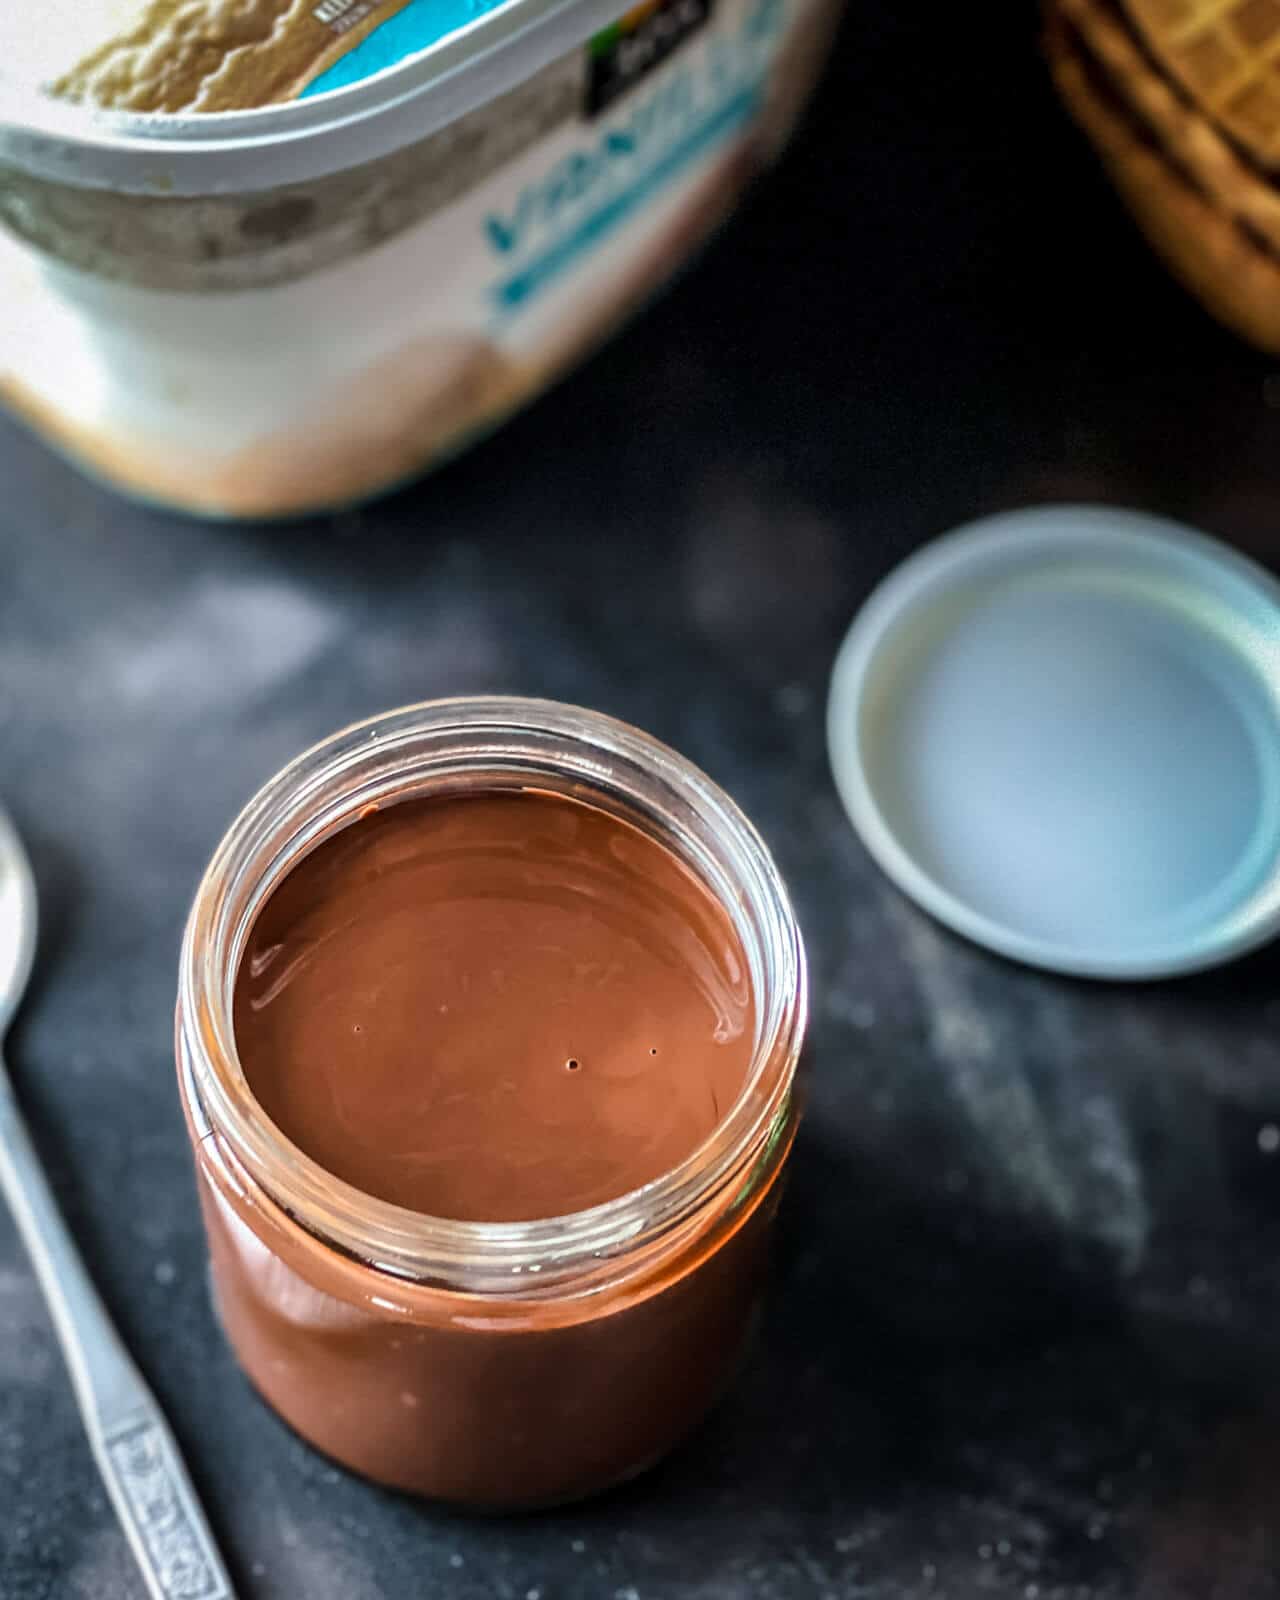
- Store the remaining chocolate ice cream sauce in a glass jar.
Frequently Asked Questions
How does a magic shell work?
The low melting point of coconut oil helps make this chocolate sauce magical!
The melting point of coconut oil is 25° C (or 77°F). If it is exposed to temperatures lower than that, it solidifies. That is why when it comes in contact with ice cream, it immediately solidifies forming this crunchy chocolate shell.
Do you need to refrigerate this sauce?
No, you do not need to refrigerate magic shell topping. Both ingredients in this recipe are shelf-stable and do not need to be refrigerated after making. Simply store the remaining magic shell ice cream topping in a jar and microwave when you want to use the chocolate topping again.
How long does it last?
A closed and covered jar of homemade chocolate magic shell lasts up to 6 months. Your family probably has far more will-power than mine if you can keep this liquid chocolate gold in your pantry that long!
Other delicious desserts
Now that you have a delicious jar of homemade chocolate sauce perfect for ice cream try one of these delicious dessert recipes next!
- Chocolate Ice Cream—Learn how to make this decadent double chocolate ice cream with just four ingredients and no ice cream maker.
- Vanilla Ice Cream– This eggless, no-churn vanilla ice cream recipe makes the perfect dessert for any day!
- Creamy Mango Ice Cream—If you love Mango lassi, this mango ice cream recipe is just what you need to satisfy your mango cravings.
- Fruit Custard– This Indian fruit custard recipe combines seasonal fruits with sweet creamy custard sauce to make this delectable dessert that is perfect for a crowd.
- Creamy Peanut Butter Banana Smoothie– Try this creamy and delicious milkshake-like peanut butter and banana smoothie. With no added sugar enjoy this nourishing smoothie guilt-free!

Homemade Chocolate Magic Shell Ice Cream
Ingredients
- 2 cups chocolate chips 1 cup semi-sweet chocolate chips + 1 cup milk chocolate chips
- ¼ cup coconut oil measured solid
Instructions
- Mix chocolate chips and coconut oil and heat in a microwave for 30 seconds.

- Mix them well and heat it for an additional 30 seconds.

- The chocolate may not have completed melted but give it a good mix and that should help.

- If you still see chocolate morsels, microwave for another 15 seconds till the chocolate sauce is a smooth, free-flowing mixture.

- Allow it cool for about 5 minutes. Add it to freshly scooped ice cream and watch it harden.

- Store the remaining mixture in a jar. No need to refrigerate. If it solidifies, just warm it for a few seconds in the microwave and it is ready to go.
Notes
- Pour some of this sauce over a vanilla or chocolate ice-cream served in a cone to make chocolate-dipped ice cream cones.
- Dip frozen banana bites in this sauce to make these delicious chocolate banana bites.
Disclaimer: Approximate nutritional information is provided as a courtesy and can vary depending on the exact ingredients/brands used. If you have health issues, please work with a registered dietician or nutritionist.
Nutrition
This recipe was originally posted on June 11, 2014, and has been completely updated with pictures, step by step photos on 30th September 2020.
