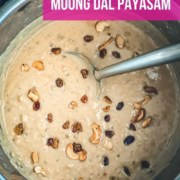
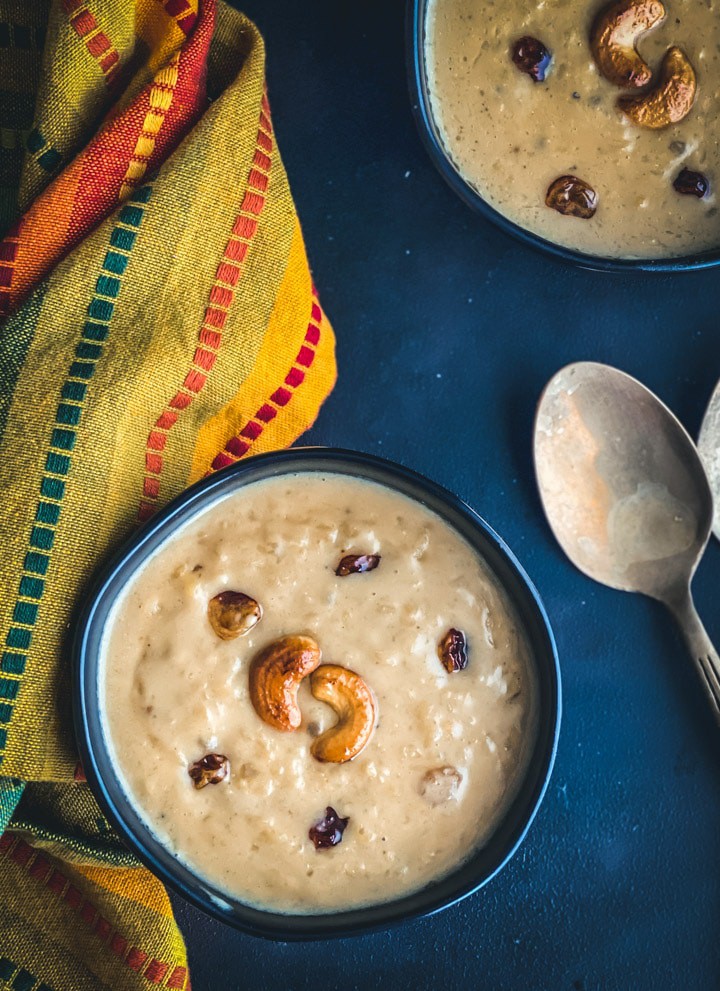
In Mangalorean homes, no celebration is complete without moong dal payasam (or padengi payasa). This delightful South Indian pudding, crafted from moong dal, sabudana, jaggery, and coconut milk, is a quick and easy treat that is perfect for any occasion. Learn to make it effortlessly on your Instant Pot or stovetop.
Want to save this post for later?
About Moong dal payasam
India's love for milk-based puddings, known as kheer in North India and payasam in South India, is legendary. While rice kheer and seviyan payasam often take the spotlight, lentil-based ones like the moong dal payasam stand just as tall with their unique flavors and textures.
Step into any Mangalorean household during any festive occasion, and you'll discover a delightful lentil-based pudding that's an absolute must-try: Moong dal payasam or payasa. This traditional South Indian pudding, made from simple pantry ingredients like moong dal, sabudana, jaggery, and coconut milk, is a delightful treat that effortlessly elevates any special occasion.
Taste and texture
If you're familiar with South Indian cuisine, you'll know that many of our desserts, like this Gatti or this flaky puran poli, are traditionally sweetened with jaggery, giving them a rich and distinctive flavor. Moong Dal Payasam is no exception, and its comforting taste is perfect for special occasions like New Year (Ugadi), Dassera, birthdays, or any gathering where you want to treat your loved ones to a culinary delight.
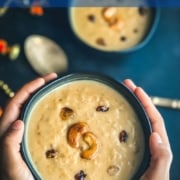
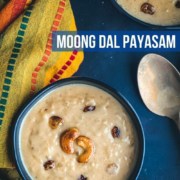
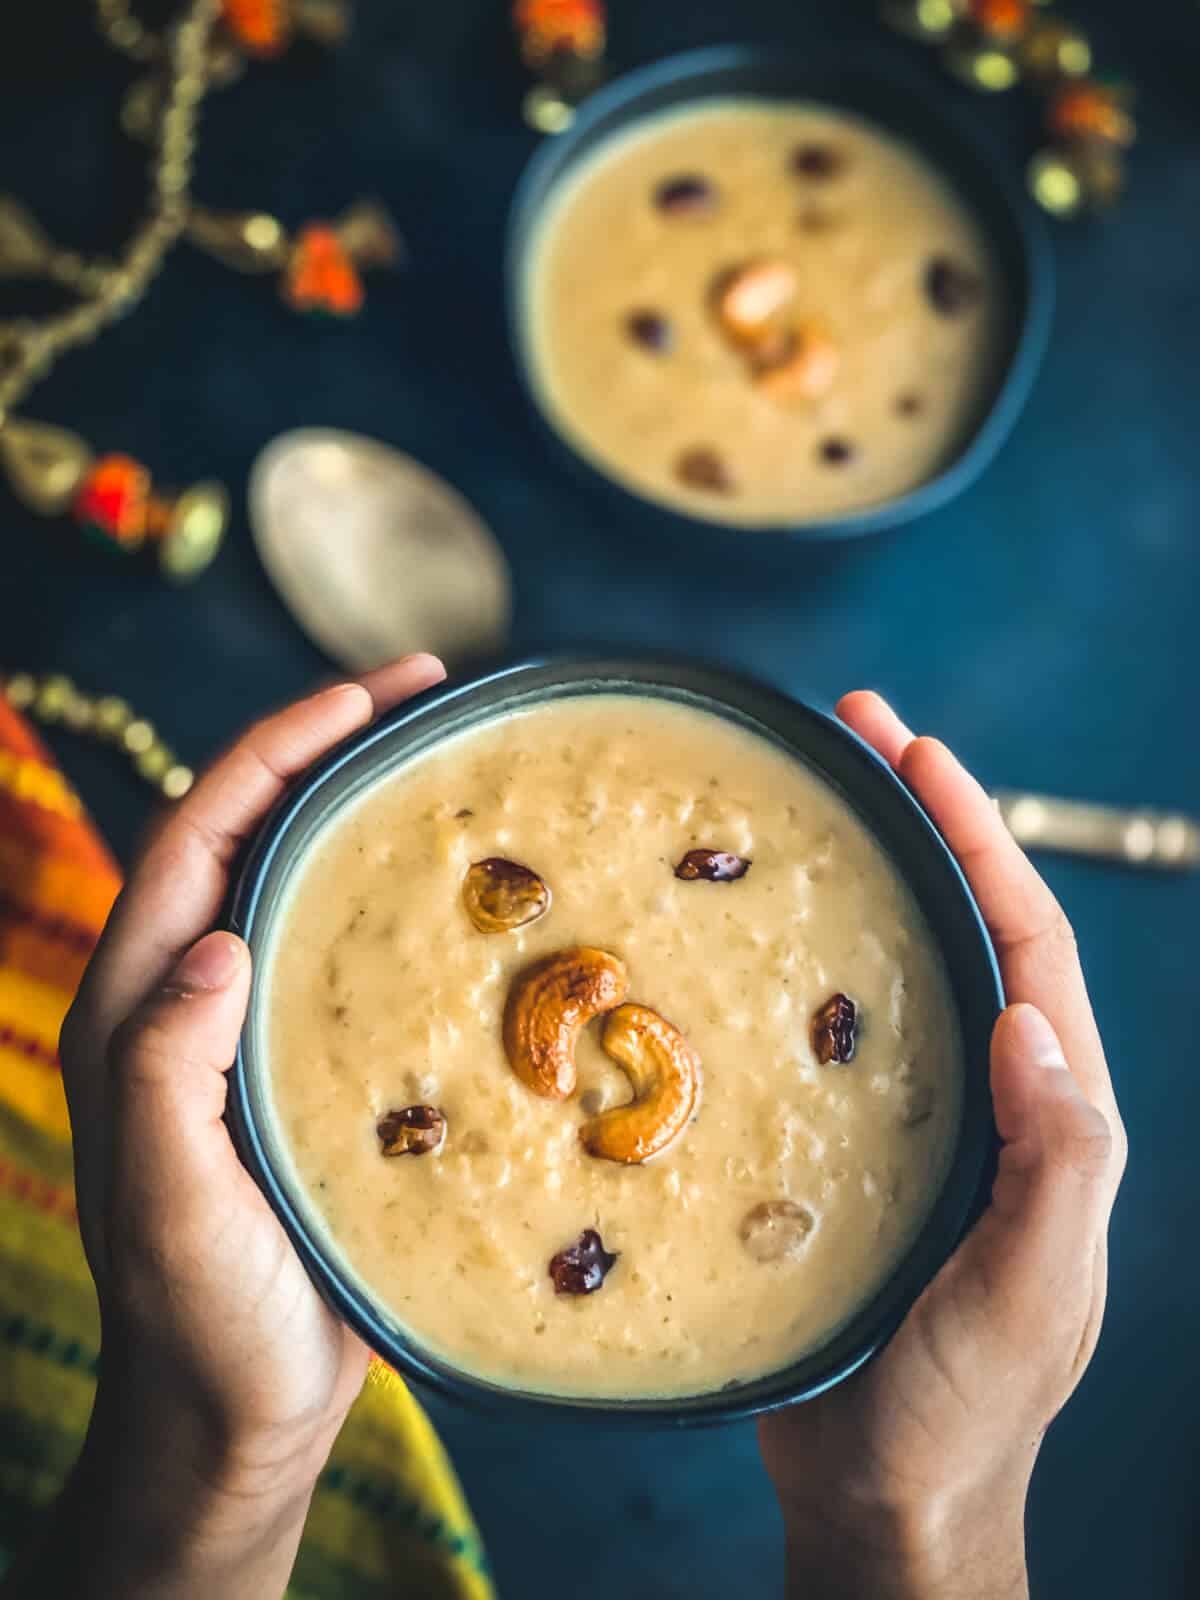
A well-made moong dal payasa, like rice kheer or pudding, has texture - thanks to the perfectly cooked (not mushy) moong dal and sabudana. Freshly ground cardamom adds a nice aroma, while the addition of coconut milk lends a creamy richness. A finishing touch of perfectly fried cashew nuts and raisins in homemade ghee adds a delicious crunch to this heartwarming moong dal payasam recipe.
The best part? Preparing this traditional dish has never been simpler, all thanks to readily available conveniences like coconut milk, powdered jaggery, and modern kitchen tools like pressure cookers. Whether you opt for the convenience of your Instant Pot or the timeless appeal of the stovetop, we've got you covered.
One dish, many names
Such is the charm of this delicious payasam that it's relished across different South Indian states, each giving it a unique name:
- Tamil/Malayalam: Pasi paruppu payasam or Parippu Payasam
- Telugu: Pesara pappu payasam
- Kannada: Hesaru bele payasa
- Tulu: Padengi payasa
- Hindi: Moong Dal Kheer
Fun fact - While the Mangaloreans, particularly the Tulu-speaking community, call it payasa, the rest of the states in southern India call it payasam. And yes, our signature touch? A hint of sabudana, making our version just a tad different!
Why you'll love this recipe
I like this recipe because it is straightforward and hard to goof up. If you are new to the kitchen and looking for a go-to dessert, moong dal payasa is the way to go.
- This recipe is beginner-friendly and fail-proof, making it an excellent choice for those new to the kitchen.
- It's quick to make and can be prepared in less than 20 minutes.
- It's a nearly "dump-and-go" recipe, simplifying the cooking process.
- For those following a vegan diet, it can be made vegan-friendly by substituting coconut oil for ghee.
Ingredient notes/swaps
- Yellow moong dal: Yellow split moong dal is essential for this recipe, but you can also use chana dal (split chickpeas) as a substitute.
- Sabudana (sago pearls): This unique ingredient adds a distinct touch to Mangalorean moong dal payasa. To create a version closer to a paruppu payasam recipe, you can simply omit it.
- Coconut milk: While traditionally made with homemade coconut milk, store-bought coconut milk can be used for convenience and quicker prep.
- Sweetener: Powdered jaggery is highly recommended for its time-saving convenience. Alternatively, you can substitute jaggery with sugar or coconut sugar. You can find them in your local Indian store.
- Freshly ground cardamom: Adds a unique aromatic essence to the dish.
- Ghee: You can use either store-bought or homemade ghee for tempering.
- Nuts and raisins: These are fried in pure homemade ghee, contributing both crunch and richness to the dish.
- Water: Used to dilute the payasam as needed.
Be sure to check out the full recipe and ingredient list below.
Author's notes
Here are some helpful tips and notes to ensure you save time while achieving the most delicious moongdal kheer:
1. Time-saving tips:
- Opt for canned coconut milk for convenience instead of making homemade coconut milk.
- Use powdered jaggery as a time-saving alternative to grating or powdering a large chunk of jaggery.
2. Coconut Milk Selection: For a rich, creamy taste, choose regular coconut milk over the light version.
3. Adjusting Sweetness: Begin with 1 cup of powdered jaggery and adjust the sweetness to suit your taste.
4. Dal substitution: If desired, substitute moong dal with chana dal, but remember to soak it beforehand.
5. Sugar substitute: Regular or coconut sugar can replace jaggery if you don't have it handy. Start with 1 cup of sugar and adjust to your preference.
6. Texture preference: While you can mash the moong dal, retaining a bit of texture in the payasa is recommended.
7. Consistency: As the payasam naturally thickens over time, use either water or milk to dilute it to your desired consistency.
8. Jaggery syrup: If your jaggery contains impurities, add the grated jaggery to ½ cup of water and heat the mixture until the jaggery is completely dissolved. Strain the mixture to eliminate impurities, then add the jaggery syrup to the payasam.
9. Add tempering last: To retain the crunch of the nuts, add tempering after pressure cooking.
Here's a valuable tip from my mother-in-law: when preparing payasa with moong dal, it can cook rapidly and lose its texture if not closely monitored. Therefore, when using your Instant Pot, promptly release the pressure once the cooking cycle concludes. This step is essential to prevent the moong dal from becoming overly soft unless you intentionally desire a completely mashed consistency.
Treat yourself and your loved ones to the joys of Mangalorean cuisine by whipping up this delightful Moong dal payasam. Whether it's a festival, a family gathering, or simply a desire for something sweet and satisfying, this dessert has you covered.
📖 Recipe
Want to save this post for later?

Creamy Moong Dal Payasam (Paruppu Payasam)
Ingredients
- 1 cup moong dal (yellow lentils)
- ¼ cup sabudana or Sago (optional)
- ⅛ teaspoon salt a pinch
- 2.5 cups water for soaking
- 400 ml (1 can) coconut milk
- 1.5 cups powdered jaggery
- 1.5 cups water to dilute
- ½ teaspoon powdered cardamom elaichi powder
- 1 tablespoon ghee or coconut oil
- ¼ cup cashews
- ¼ cup raisins
Instructions
- Rinse and soak moong dal in 2 cups water for 3-4 hours.
- Separately, rinse and soak sabudana in ¼ cup water for 3-4 hours.
- Drain the water from the moong dal.
- For stovetop cooking, pressure cook moong dal on medium heat with 1.5 cups of water and a pinch of salt until the vent goes off once. Then, set it aside. Let the pressure release by itself.
- For Instant Pot users, pressure cook the dal and salt for 4 minutes on high. Once the cooking cycle is complete, release pressure immediately.
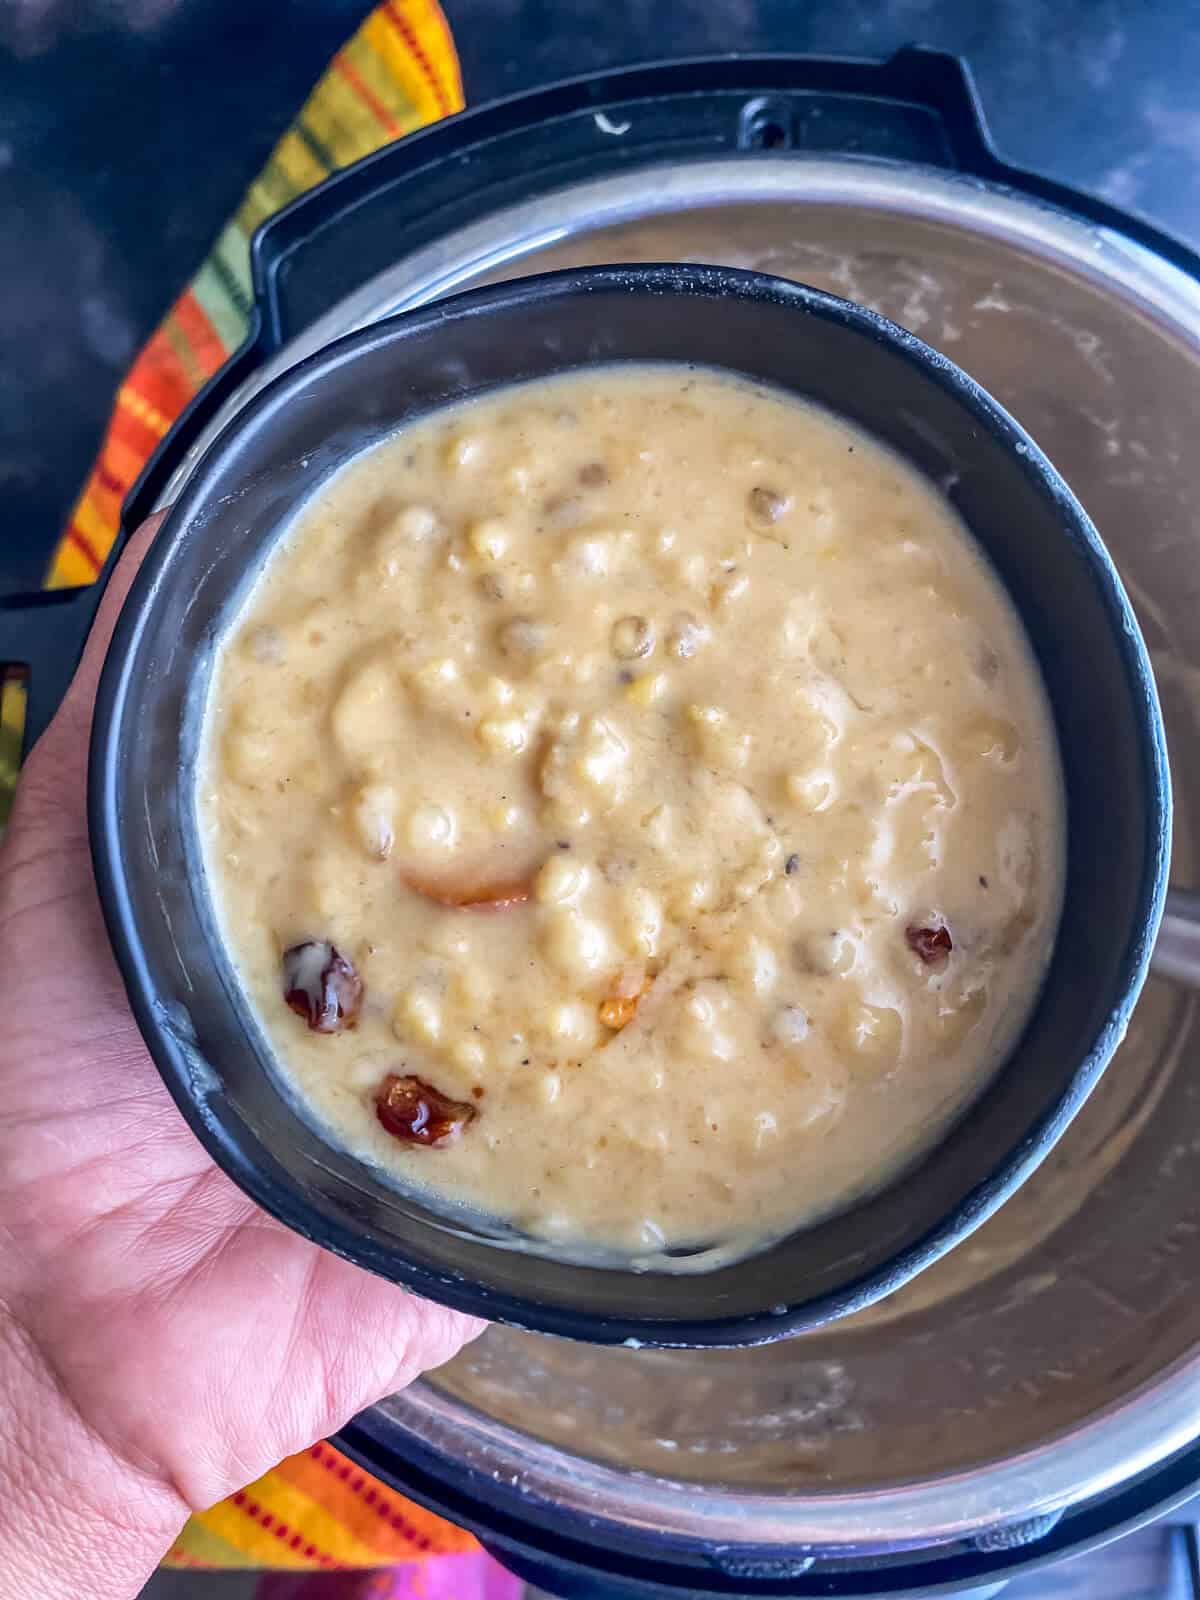
- Open the pressure cooker and add the soaked sabudana, along with coconut milk and jaggery.
- Heat the mixture over medium-low heat, stirring constantly until the sabudana is cooked (approximately 4-5 minutes). If using an Instant Pot, use the 'Saute' setting on 'Less.'
- Adjust the consistency by adding water as needed; typically, around 1.5 cups should suffice.
- Mix in the cardamom powder and turn off the heat. Do a taste test, add more jaggery, if needed.
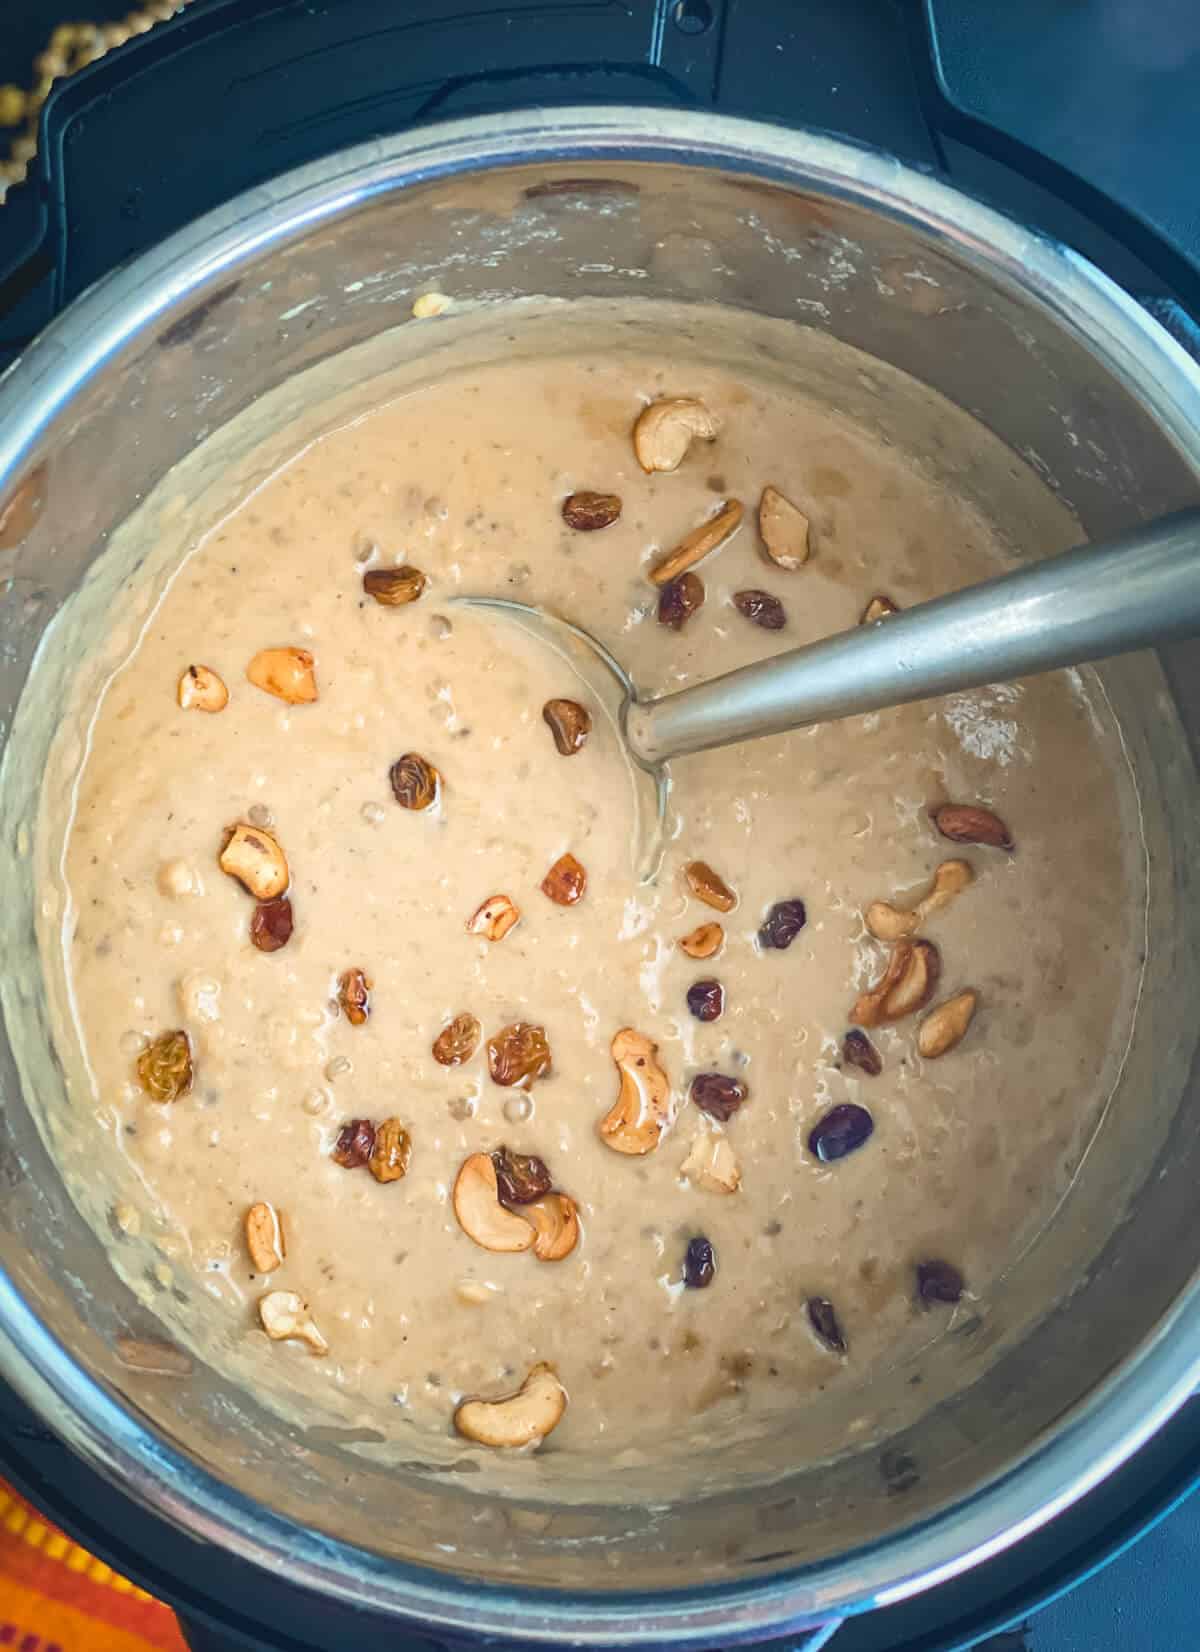
- In a separate pan over medium heat, heat the ghee.
- Add cashews and raisins, allowing them to sizzle in the ghee for about 20 seconds.
- Add this ghee-infused tempering to the payasa and stir it in.
- Serve hot and enjoy!
Video
Notes
-
- Opt for canned coconut milk for convenience instead of making homemade coconut milk.
-
- Use powdered jaggery as a time-saving alternative to grating or powdering a large chunk of jaggery.
Disclaimer: Approximate nutritional information is provided as a courtesy and can vary depending on the exact ingredients/brands used. If you have health issues, please work with a registered dietician or nutritionist.
Nutrition
Variations
- If preparing paruppu payasam, you can omit the sabudana or substitute it with an equal amount of chana dal.
- Use dairy milk as a replacement for coconut milk. When substituting regular milk for coconut milk, sweeten it with sugar instead of jaggery to prevent potential milk splitting.
- In the Kerala-style moong dal payasam, coconut slices are toasted in ghee, along with cashew nuts for tempering. This imparts a delightful crunch and an extra burst of coconut flavor.
How to store
Refrigerator: Store this creamy payasam in the refrigerator for 2-3 days.
Reheating Instructions: Microwave it for 30-60 seconds or until heated.
Other dessert recipes worth checking out
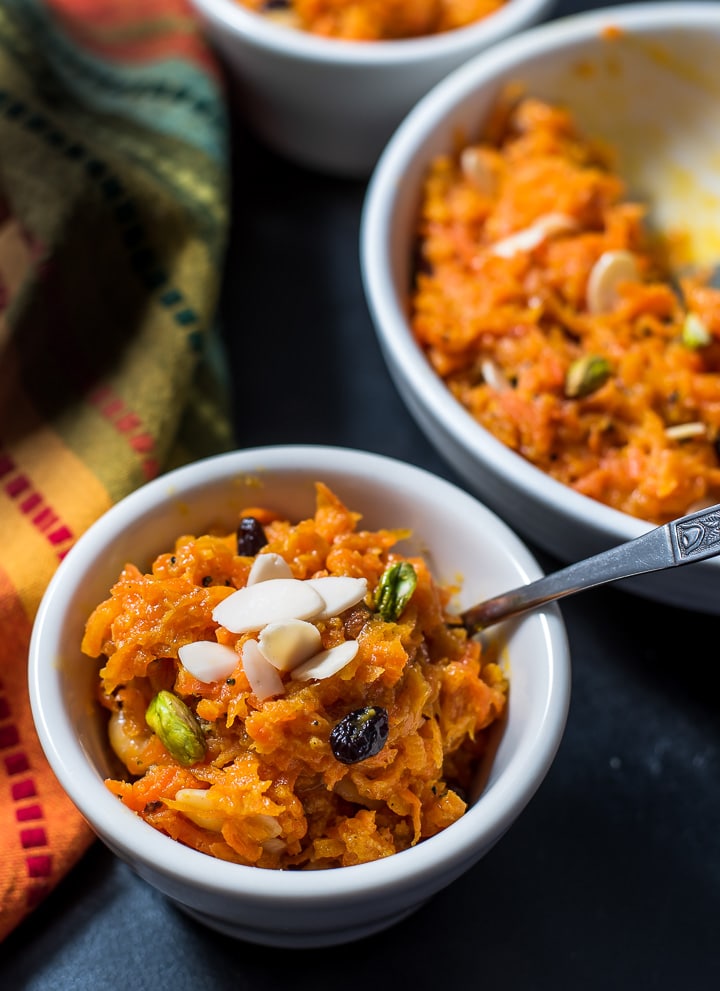
Savor the sweetness of Gajar Halwa, a beloved Indian dessert made from grated carrots, milk, and sugar, using this almost hands-free Instant Pot method.
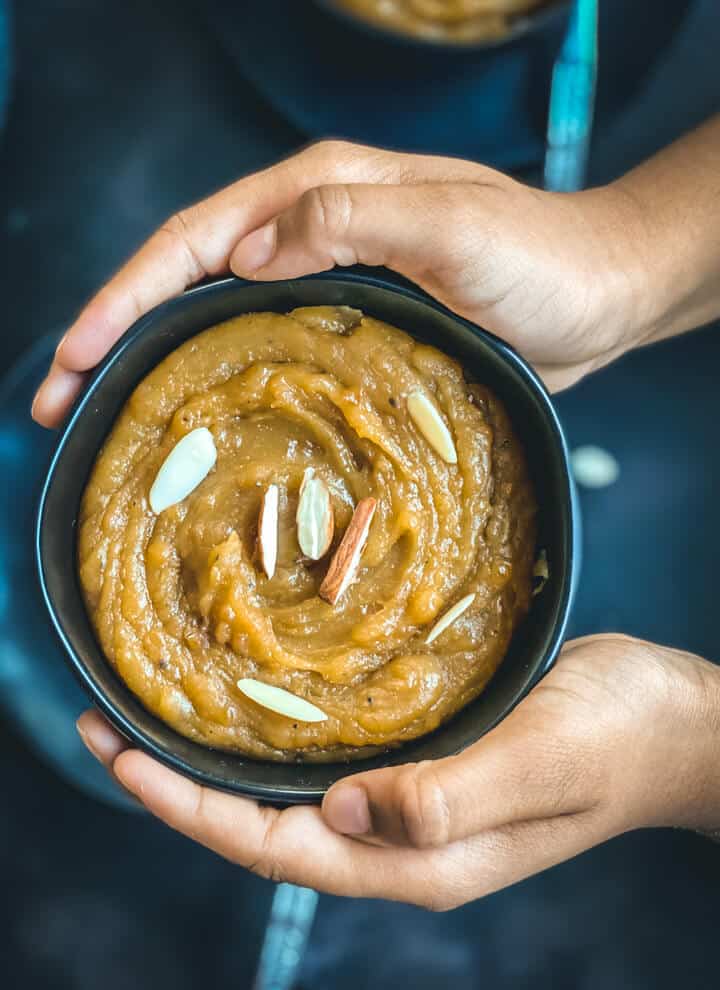
Popular in North India, Moong Dal Halwa is a delectable dessert made from lentils and ghee, usually reserved for special occasions like weddings or Diwali. This homemade version captures the essence of India's classic dish, prepared quickly and easily in the Instant Pot!

Discover the authentic taste of Sakkarai Pongal or Chakkara Pongali (Sweet Pongal) in under 30 minutes with the convenience of an Instant Pot.
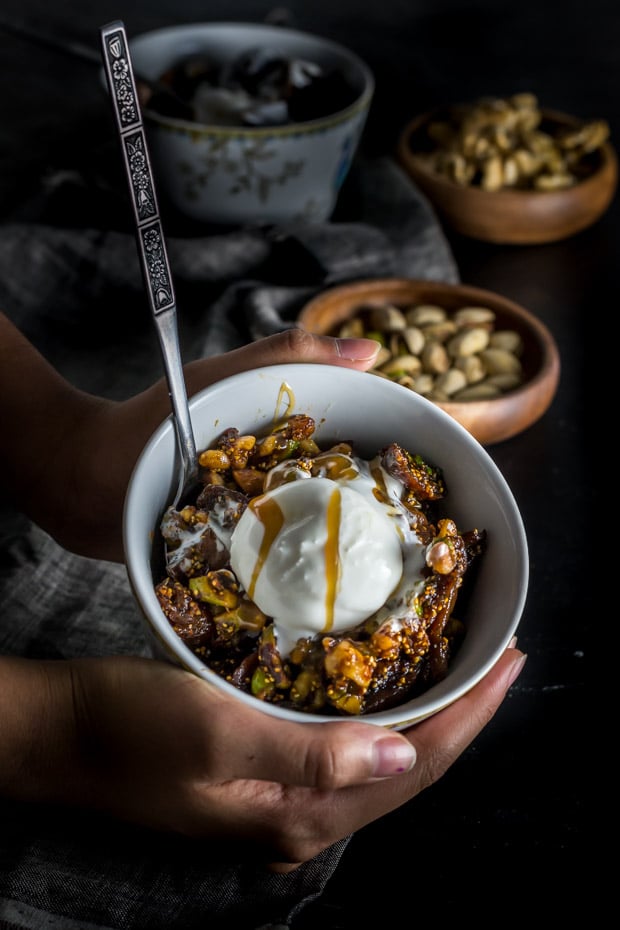
This Instant Pot fig and walnut halwa is perfect for when you need a quick and easy recipe to satisfy your sweet cravings. It is absolutely delicious and comes together in less than 30 minutes.
Looking to celebrate a special occasion with Indian sweets? Explore India's diverse collection of over 45 easy desserts and sweet recipes. Whether it's a dinner party, a festival celebration, or simply a day when your sweet tooth craves attention, these recipes will surely delight your taste buds.
This recipe was originally published on April 20, 2014; the recipe and photos were updated on April 14, 2020, and the text was updated on Oct 24, 2023.

Comments
No Comments