Stuffed Onion paratha (Pyaaz ka paratha)
Note: This post contains affiliate links. As an Amazon Associate I earn from qualifying purchases.
This savory and spicy Punjabi onion paratha is perfect for breakfast, lunch, or a delicious after-school snack. Filled with onions and aromatic spices, this stuffed paratha recipe definitely packs a punch.
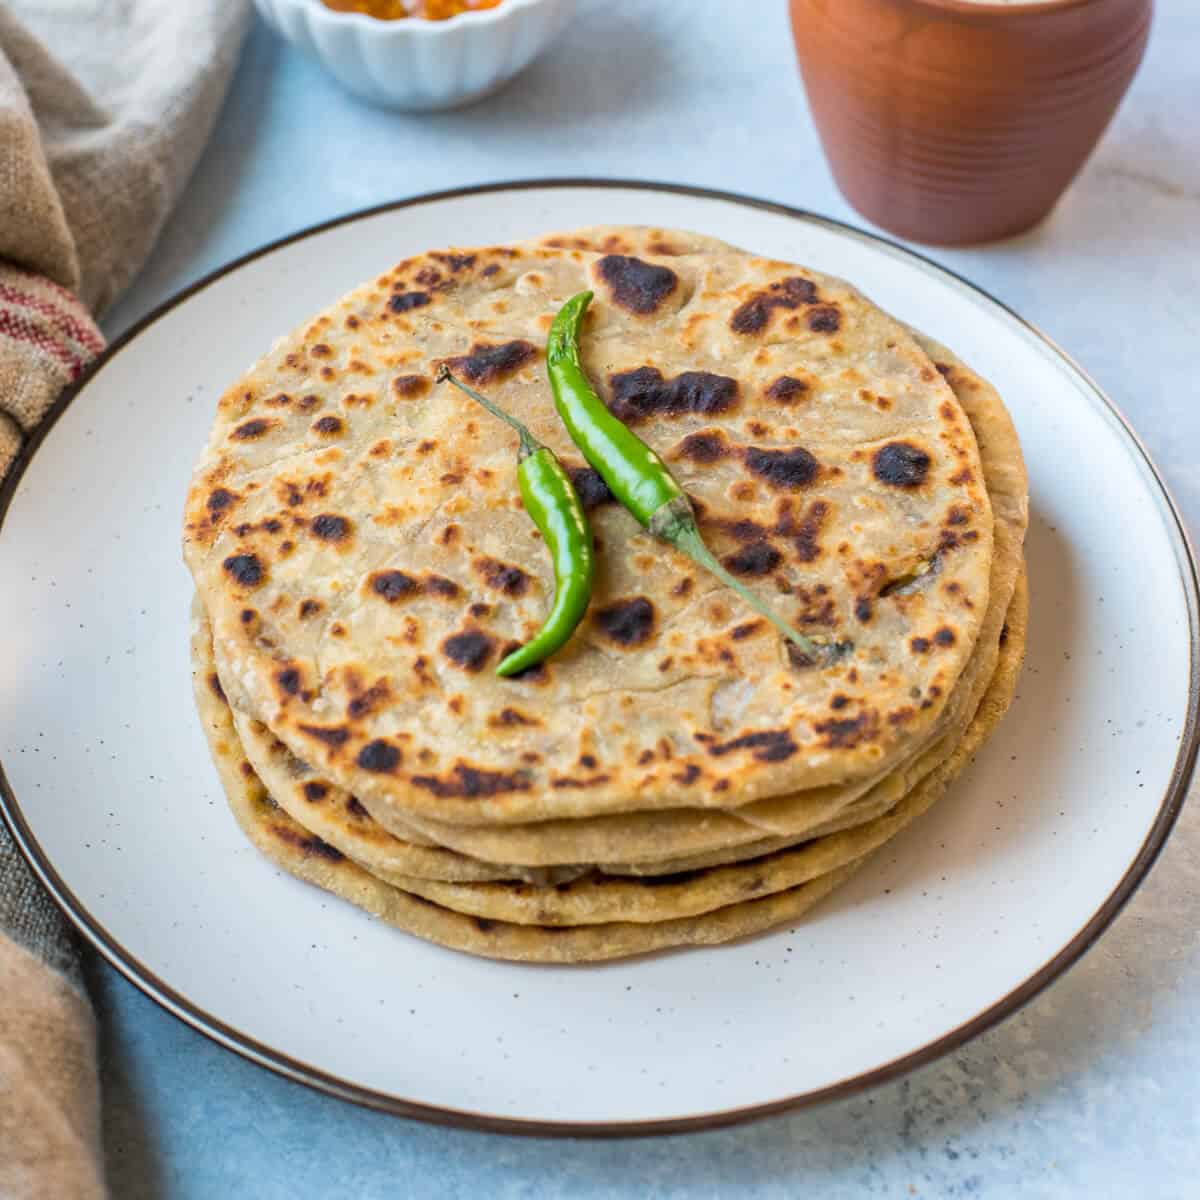
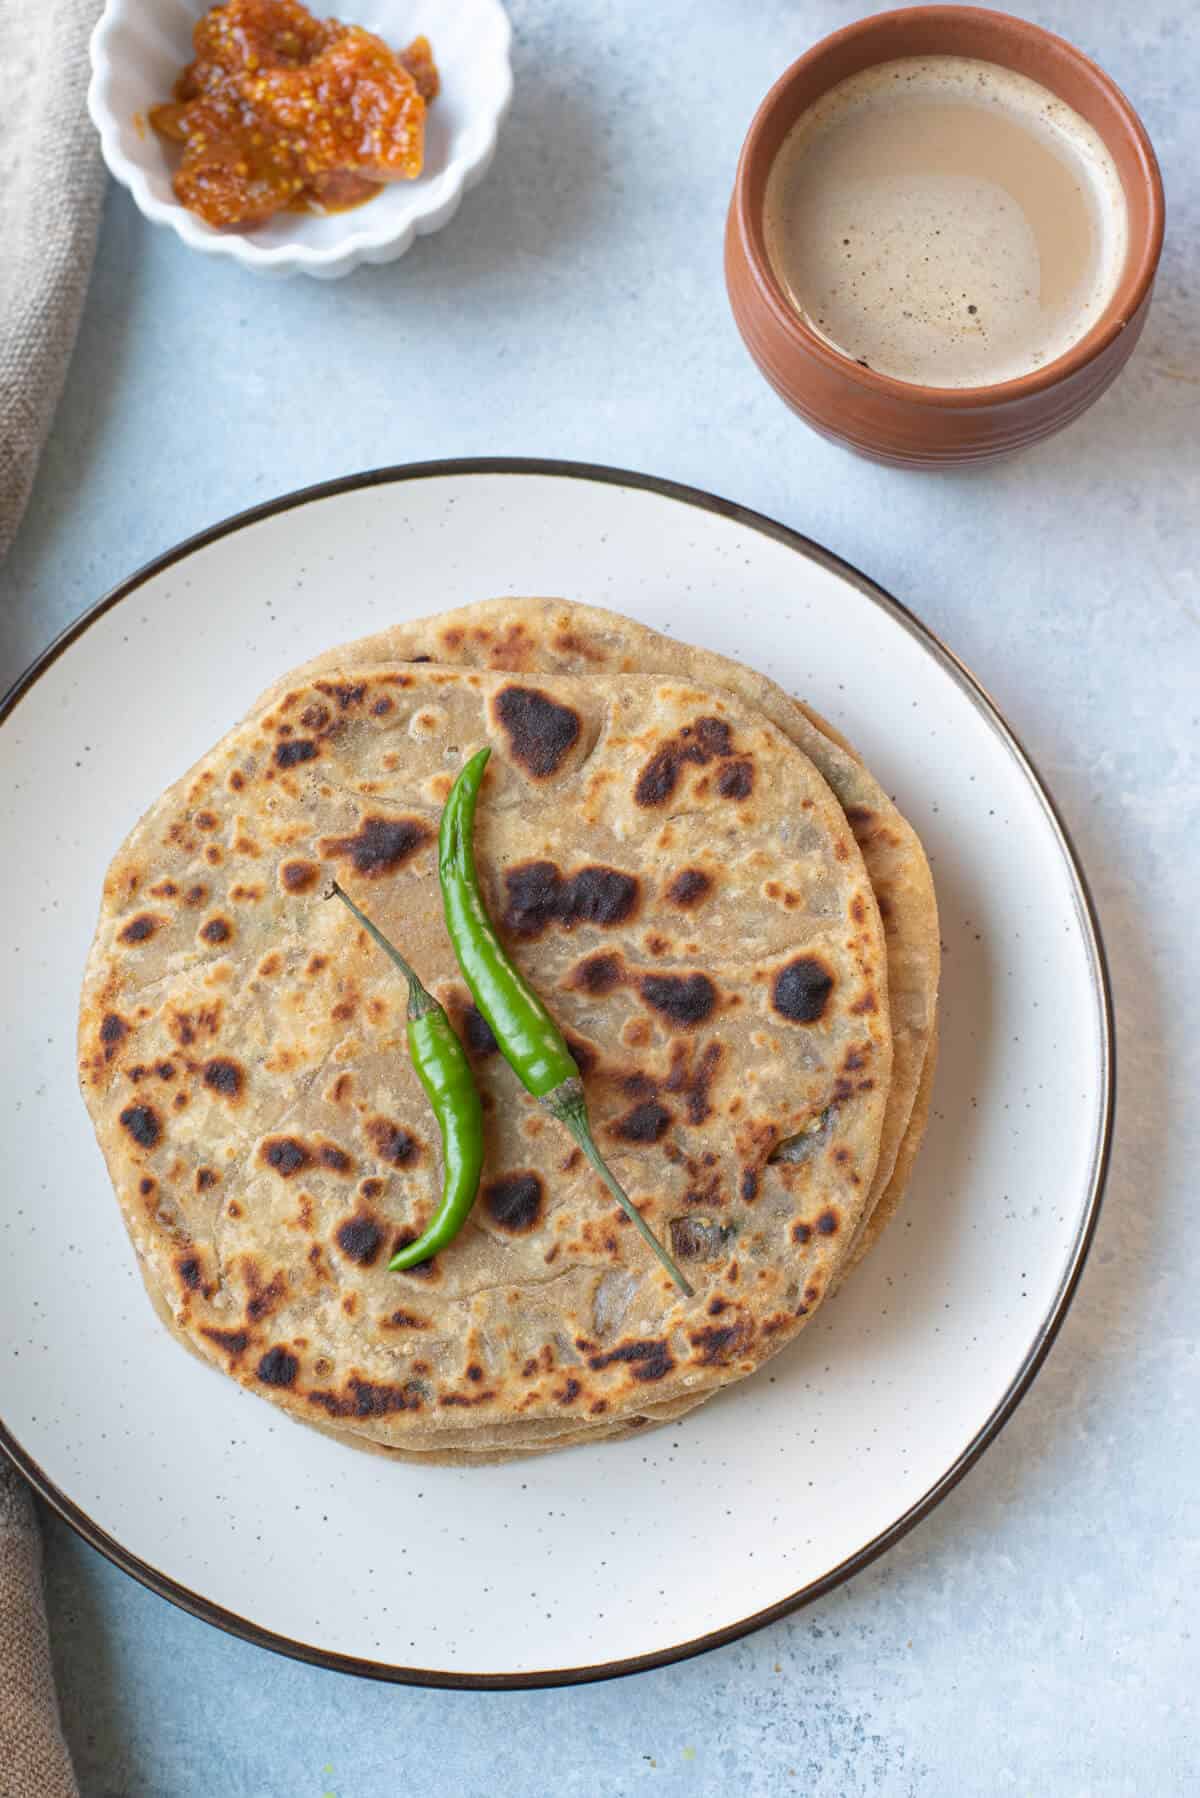
Paratha is a popular breakfast food and accompaniment that is traditional to North Indian cuisine. Onion paratha (pronounced uh·nyn pr·aa·thuh) is a variation of the popular and common plain paratha.
I had never tried a stuffed paratha until a friend made me an onion-stuffed paratha one day. Onions, green chilies, and spice powders were combined together in the stuffing to create a savory and spicy paratha that made it irresistible.
No wonder I was floored with the very first bite.
While you can make this stuffed onion flatbread with any onion you have on hand, I like it especially well when made with finely chopped spring onions.
Since onion paratha is so savory, it works just as well for lunch or an after-school snack as it does for breakfast. And since it is made with whole wheat flour, it’s very satisfying all on its own.
Fun fact: Onions are called pyaaz or pyaz in Hindi and kanda in Marathi. That’s why this recipe goes by alternate names, such as pyaz ka paratha, kanda paratha, and pyaaz parantha. Other names include stuffed onion flatbread, onion roti, onion paratha or parotta, and onion parantha.
A quick note on parathas
While parathas use the same ingredients as rotis, they differ in their external appearance because of how the dough is rolled out. Parathas are thicker with crispy exteriors, while rotis are thinner and softer.
Parathas are made two ways – layered and stuffed. To make layered ones, divided portions of the dough are rolled into a circular shape. They are then folded and rolled again to create layers. This kind of paratha, when cooked, becomes crispy and flaky.
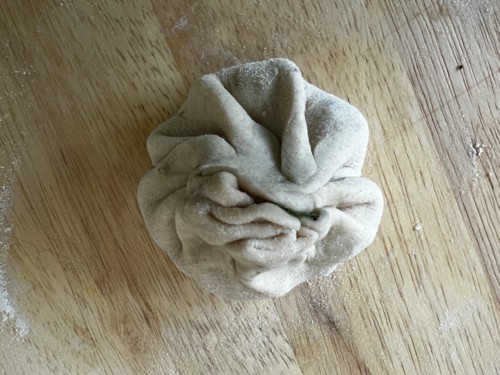
To make stuffed parathas like this stuffed aloo paratha or paneer paratha, the dough is rolled out to a circular shape and then stuffed with veggies and folded together to resemble a pleated dough ball. The ball is then rolled out to a circular shape and cooked till brown spots appear on both sides.
Want to learn how to make parathas in different shapes? In this plain paratha post, I share how to make it 3 ways – round, triangle, and square-shaped.
Reasons to love this recipe
- This savory Indian flatbread is perfect for any time of the day. Enjoy it for breakfast or pack it for lunch, along with raita and/or green chutney.
- A filling alternative to plain parathas.
- Easy enough to serve on an everyday basis but unique enough to make for guests or special occasions.
- It’s made with whole wheat flour, meaning it’s a healthy option when compared to restaurant-style bread like naan.
Here’s what you need to make the recipe
Ingredient notes/swaps
- Whole wheat flour – I prefer either Aashirwad whole wheat atta or Sujata chakki atta.
- Water – You will need enough water to form a soft dough. It should be at room temperature for the best results.
- Salt – a small amount of salt is added to the dough to provide flavor.
- Carom seeds – Also known as ajwain, these can easily be found at your local Indian grocery or online.
- Oil – I recommend avocado oil, but you can use another neutral-flavored oil like sunflower oil.
For Stuffing:
- Finely chopped onions – You can use white, yellow, or red onions. Spring or green onions work too.
- Seasoning: you will need black salt, garam masala, fresh chopped cilantro (coriander leaves), jeera (cumin seeds), green chilies, salt, and dry mango powder (amchur powder). Note: you can also use a teaspoon of red chili powder instead of green chilies.
For frying:
- Ghee – It is traditional to fry onion paratha in ghee, but if you would like them to be vegan, you can use oil.
Be sure to check out the full recipe and ingredient list below.
Tools
You’ll need the following equipment to make parathas
- [Optional but helpful] Stand mixer or food processor
- Metal / Marble / Wood base with a rolling pin (or Chakla Belan in Hindi)
- Tava / Griddle
- Spatula / Turner
- Paper towel
TIPS
General tips while making parathas
- Knead the dough until it is smooth, soft, and pliable.
- To fix hard dough, sprinkle a spoonful of water and knead. Add more water as needed until the dough is neither hard nor sticky.
- Sticky dough? Sprinkle a spoonful of dough and knead. Add more flour as needed until the dough is not sticky.
- Rest the dough to allow time for the gluten to form. This makes it easier to roll out the dough and yields softer parathas.
- Make sure to dust off the dry flour from the parathas before frying, or it dries up and turns hard.
- Before storing it in an air-tight container or while packing it for lunch, let the paratha cool down for 5-6 minutes to prevent it from being soggy.
Pro tips for onion parathas
- Chop the onions and green chilies finely, or they’ll tear the paratha while rolling.
- Onions lose water when mixed with salt, so make the parathas immediately once the stuffing is prepared.
Note: Don’t forget to turn your exhaust fan on when making parathas, or else your smoke alarm may go off.
Variations to try
- Make the dough without the ajwain (carom seeds).
- For spring onion parathas, substitute regular yellow, white, or red onions with finely chopped green onions.
- Onion paneer or onion cheese paratha: Add a tablespoon of grated cheese or paneer along with the onions in each paratha to make onion paneer paratha.
- Use cooked stuffing: While this recipe uses raw onions, you can also use cooked onion stuffing. To do so, saute the onions along with spices in a tablespoon of oil until the onions have softened. Completely cool the onions before stuffing.
How to prep ahead
The best way to prepare this paratha in advance is to make the dough ahead of time. Follow the steps for making the dough as listed in the instructions, and when it is time to allow the dough to rest, store it in either the refrigerator or the freezer.
- Refrigerated dough stays kept in an air-tight container for up to 3 days.
- The frozen dough keeps for a month.
- Bring the dough to room temperature before rolling out the parathas.
Another prep step you can do in advance is to chop the onions. They can be chopped and stored in an airtight container for up to 3 days. Just make sure to chop them very finely, as otherwise, they may tear the paratha dough.
Storage tips
Refrigerator – You can store your cooked onion parathas for up to 2 days, but storing them for longer than that is not recommended.
Freezer – Store your parathas in the freezer for 2-3 months. Separate them with parchment paper when freezing, or they’ll stick together.
Reheat – For refrigerated parathas, reheat in a microwave (15-20 seconds) or reheat in a tava / skillet kept over medium heat. If parathas are frozen, use a tava/skillet to reheat for the best results.
Serve it with
This delicious paratha pairs well with a variety of raitas or lime/mango pickles, as well as paneer-based curries. Here are a few of my favorite serving suggestions:
- Onion raita – Make it with ingredients that you have at home and in less than 5 minutes. It is the perfect way to finish off a delicious Indian meal.
- Boondi raita – Made by soaking crispy chickpea flour balls in spice-infused creamy yogurt. Perfect for serving with biryanis or with parathas and a side dish.
- Matar paneer – A restaurant-style dish that is creamy, delicious, and easy to make at home.
- Paneer butter masala – This take-out classic can easily be made at home in less than 40 minutes.
Other paratha recipes to try
Onion Paratha (Pyaaz ka paratha)
Ingredients
For the dough
- 3 cups whole wheat flour
- 1.5 to 1.75 cups water
- ½ teaspoon salt
- 1 teaspoon carom seeds ajwain
- 2 tablespoons oil (avocaodo or sunflower) divided
Stuffing
- 2.5 cups finely chopped onions
- 1 teaspoon black salt
- 1 teaspoon garam masala
- ¼ cup cilantro finely chopped
- 1 teaspoon jeera cumin seeds
- 2 green chilies finely chopped
- ½ teaspoon dry mango powder amchur
- ½ teaspoon salt salt to taste
For frying
- ½ cup ghee for frying
Instructions
Make the dough
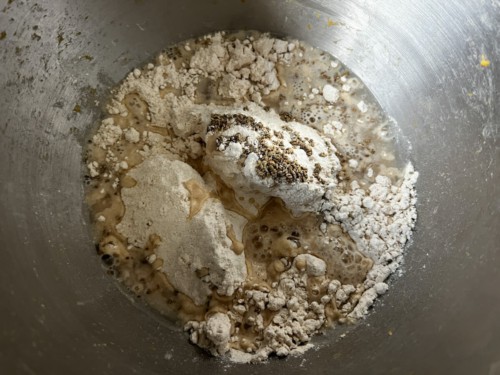
- Combine wheat flour, salt, a tablespoon of oil, carom seeds with 1 cup of water and start kneading. Add remaining water in small increments as needed and continue to knead till the dough comes together as a ball.

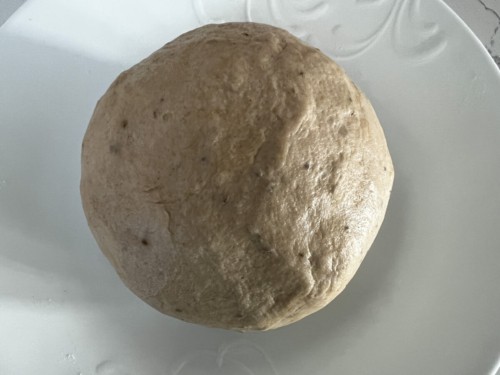
- Add the remaining oil to the dough and knead till the oil is absorbed.

- If the dough is sticky, sprinkle approximately 1 teaspoon wheat flour (or more if needed) on the dough and knead again to form a dough that is not sticky. The dough should be supple and soft.
- Cover the dough and set aside for 15-20 minutes.
Make the stuffing
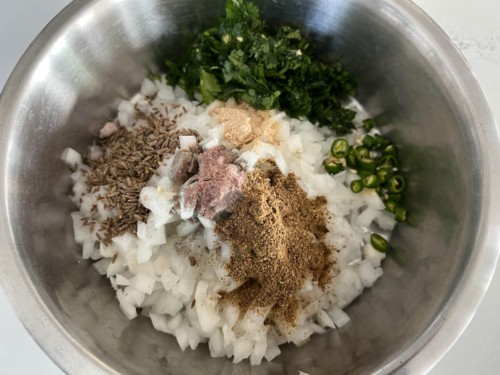
- Mix all the ingredients for the stuffing – onions, black salt, garam masala, coriander leaves, jeera, green chilies, dry mango powder, and salt till they are well combined.

Rolling out the parathas
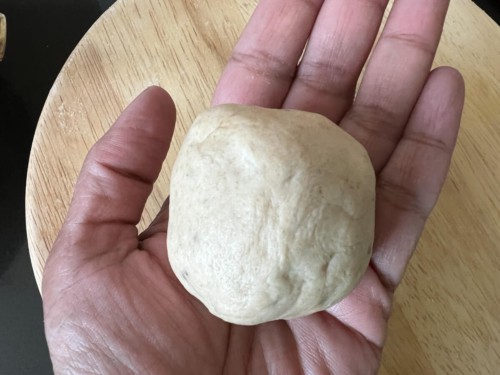
- Pull a small piece approximately the size of a golf ball from the dough. Place the piece between the palms of your hands and shape them into a ball.

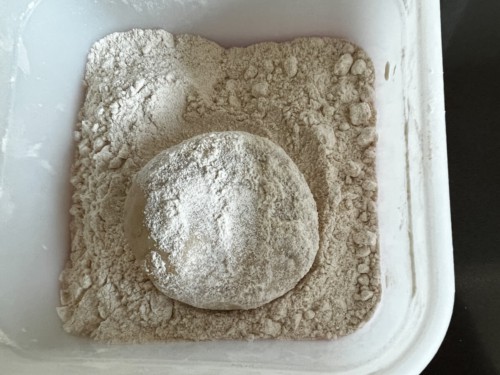
- Flatten the ball and cover both sides with flour.

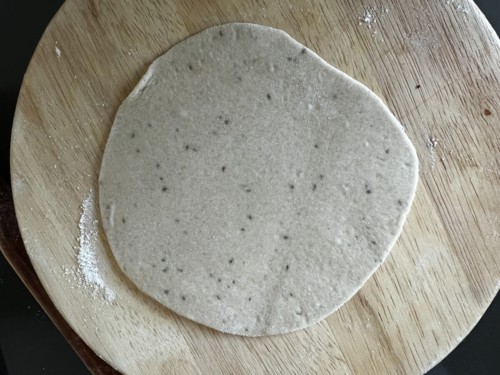
- Roll into a circular disc about 6 inches in diameter.

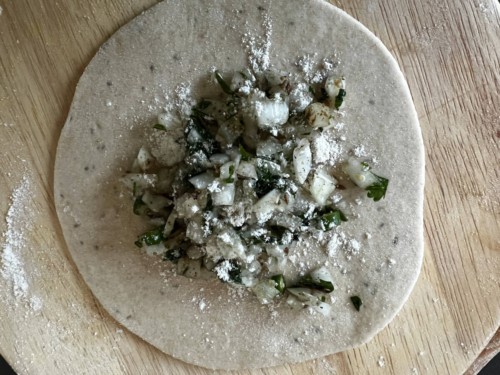
- Place about 1.5 tablespoonfuls of the stuffing in the center. Sprinkle flour over it to absorb any moisture.

- Grab the edges and pleat them and bring them together in the center.

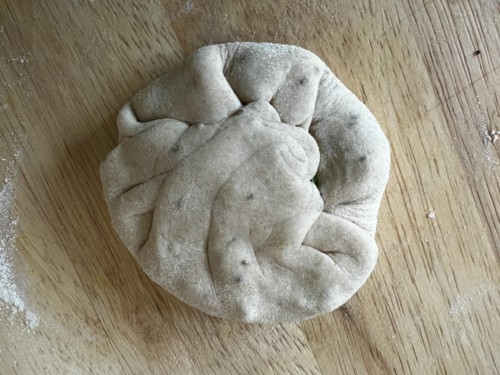
- Pinch them together to seal them and flatten them using your palm.

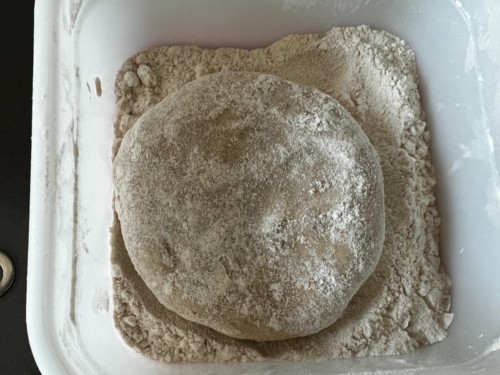
- Flatten the ball and cover both sides with flour.

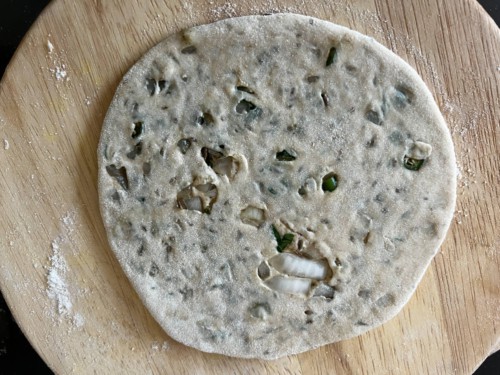
- Use your rolling pin to roll into a flat, round shape. Do this delicately – dusting flour as needed to help with this process.

- Dust off excess flour from the paratha by placing it on your palm of one hand and then flip it on the palm of your other hand. Repeat this process 3-4 times.
Cooking the paratha
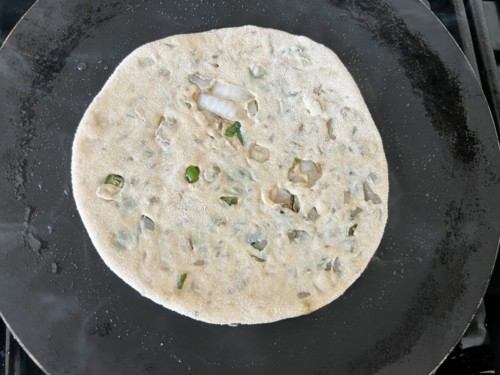
- Place a tawa/frying pan on gas on medium heat. Once heated, carefully place the paratha on the tawa.

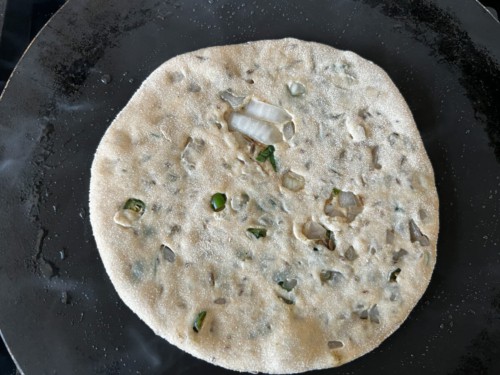
- Place the paratha in the hot pan. Cook the paratha until small bumps form on the surface (approximately 1-2 minutes).

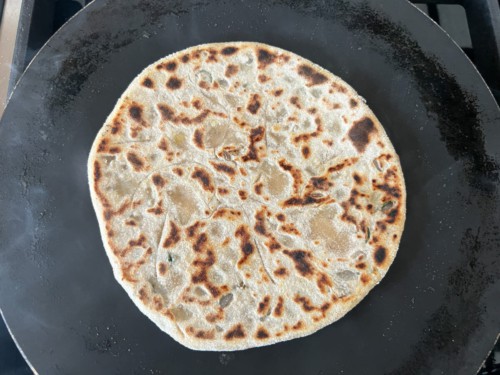
- Flip the paratha onto the other side. Cook for 30-40 seconds or so until you see brown spots. Smear it with ghee and flip it.

- Cook for 20-30 seconds, then brush the side facing up with ghee. Use a spatula to press down the paratha so that it evenly cooks.
- Flip it and cook it for another 15-20 seconds while pressing the paratha down with the spatula.
- Transfer the paratha to a plate lined with paper towels. Repeat this process for the rest of the dough.
- Serve hot with yogurt or raita.
Disclaimer: Approximate nutritional information is provided as a courtesy and can vary depending on the exact ingredients/brands used. If you have health issues, please work with a registered dietician or nutritionist.

