

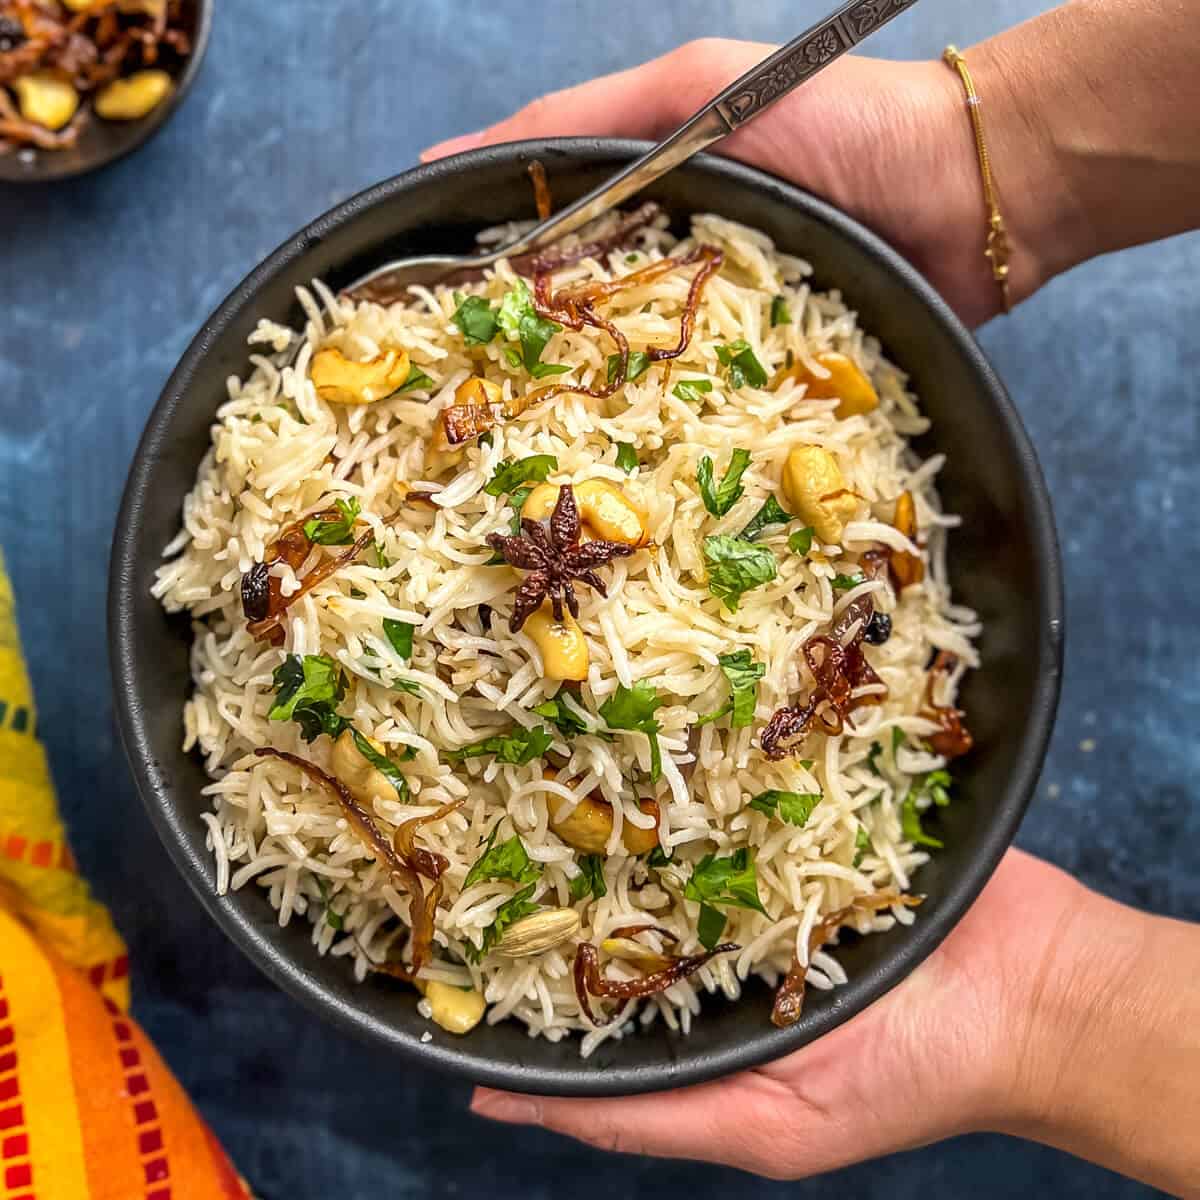
This easy pressure cooker biryani recipe features delicious chunks of seasoned paneer and tender Basmati rice in a creamy veg and tomato gravy. Instant Pot paneer biryani is a flavorful and satisfying meal that's ready to enjoy in only 40 minutes!

Want to save this post for later?
While you can make biryani recipes over the stovetop, nothing beats the convenience and ease of the pressure cooker! Case in point, this Instant Pot paneer biryani recipe makes an impressive restaurant-quality dish in just 30 minutes.
It is perfect for a lazy Sunday brunch or a quick weeknight dinner. If you are a paneer lover like me, you'll probably lap it up any time of the day.
Love paneer? Check out this collection of 30+ popular Indian paneer recipes that are a must-try in my book.
About this recipe
While you can make this paneer biryani recipe using only the Instant Pot, I prefer using a skillet to saute the marinated paneer instead of the pressure cooker. This gives the paneer cubes a larger surface area to cook and gives them a beautiful texture - crispy outside and soft inside, just like paneer tikka.
Once the paneer is cooked, you can use the handy "Saute" function of the Instant Pot to cook aromatics and veggies before adding the paneer, tomato gravy ingredients, and uncooked rice.
Add a bit of water and pressure cook for 6 minutes. The result is perfectly tender and soft cottage cheese cubes nestled into delicious fluffy, fragrant Basmati rice with a rich, creamy, and satisfying tomato and veg gravy.
Alternative names of this recipe: paneer biriyani or biriani, paneer pulao, vegetable paneer biryani, and Indian cottage cheese biryani.
Reasons to love this recipe
There are many reasons to love this flavorful paneer biryani recipe -
- Vegetarian - Instant Pot paneer biryani is a vegetarian recipe that suits many dietary needs. But although the dish is meatless, there is still a nice amount of heart-healthy protein, fatty acids, and calcium.
- Quick and easy - The recipe steps are very straightforward and simple. And it only takes about 40 minutes to make, from start to finish!
- Complete meal - With layers of rice, fresh veggies, and delicious paneer, it's the perfect hearty dinner to keep bellies full and happy.
- Adaptable - Easily swap out ingredients for your preferred variations. And although we use a separate skillet in the recipe steps, you can simply use the Instant Pot to cook elements in layers for a totally one-pot meal!
Here's what you need to make the recipe
Ingredient notes/swaps
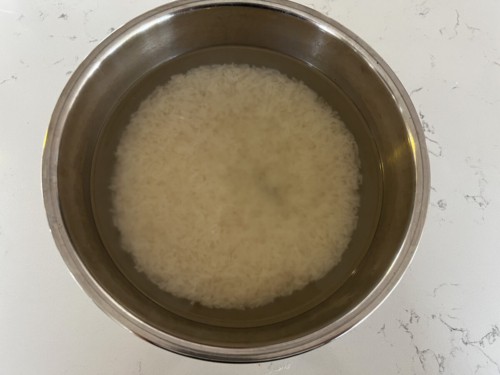
- Long grain Basmati rice and cups of water - Always soak and rinse rice before cooking to remove extra starches and ensure the most tender grains.
For the paneer marinade:
- Chopped paneer (Indian cottage cheese) - Store-bought or give homemade paneer a try (I promise it's easier than you think and tastes amazing!).
- Spice powders - Salt, turmeric, Kashmiri chili, and garam masala.
- Oil - Use your preferred neutral flavored oil, like canola/vegetable or avocado oil.
Other ingredients:
- Oil - Any neutral-flavored oil that is good for high heat will work well. Try vegetable oil, avocado oil, or olive oil.
- Garlic - Crushed and finely minced.
- Whole spices - Black peppercorns, bay leaf, cinnamon stick, green cardamom pods, black cardamom, and star anise (both optional).
- Onion - Peeled and chopped.
- Ginger - Freshly grated.
- Indian or Thai green chiles - Also known as Bird's eye chiles, finely chopped.
- Fresh vegetables - A mix of tomatoes, corn (can be frozen), and bell pepper.
- Spice powders - Coriander powder, Kashmiri red chili powder, salt, turmeric powder, garam masala, or store-bought biryani masala.
- Yogurt - Whole milk yogurt is the best.
- Mint - Fresh or dried mint can be used.
- Homemade Ghee - The final touch to help fluff the rice and add a richer flavor.
Suggested garnishes for paneer veg biryani:
- Cilantro or coriander leaves - Fresh and finely chopped.
- Fried onions - For a nice bit of crunchy texture.
- Kewra essence (optional) - a fragrant flavoring extract derived from pandanus flowers just as aromatic as rose water. You can find it in most Indian grocery stores.
Be sure to check out the full recipe and ingredient list below.

TIPS
Even though we are taking shortcuts and using Instant Pot to recreate the magic of dum cooking, there are a few things we can do to make the paneer biryani taste as authentic as possible.
Brown the onions till they caramelize - This adds a hint of sweetness to the dish, which complements the tangy, spiced-up yogurt base.
Use the amount of oil or ghee specified in the recipe - You'll need that much for the onions to brown nicely.
Use Basmati rice - This long-grained rice is aromatic, fluffs up beautifully, and, when cooked properly, yields separate grains essential for a good biryani.
Don't forget to deglaze the pot - The newer models of Instant Pot are more sensitive than the older ones. Make sure to scrape the bottom of the inner pot with a spatula to remove any stuck bits before you pressure cook.
Variations to try
- In this paneer veg biryani recipe, we use a combination of chopped tomatoes, corn kernels, and sliced bell peppers. Mix up the veggies however you like! Skip and/or double up any of the listed veggies, and add green beans, chopped carrots, peas, or other vegetables you prefer.
- For a vegan version - Replace ghee with a high-heat and neutral-tasting oil, like avocado oil, and substitute paneer with tofu.
- We use fresh mint leaves, but you can certainly use dried mint leaves instead.
- For a non-spicy version, simply omit the peppers in this paneer pulao/biryani recipe.
How to prep ahead
This restaurant-style paneer biryani recipe is so quick and easy; there isn't much that needs to be prepped ahead! But to save yourself a bit of time, you can cook the paneer and slice the fresh veggies a day in advance.
Keep the veggies and cooked (and cooled!) paneer in separate containers in the fridge until ready to use.
Storage tips
Refrigerator: Keeps for up to 3 days in an air-tight container.
Freezer: Transfer completely cooled paneer biryani into air-tight containers. Freeze for up to a month. Thaw it in the refrigerator overnight.
Reheat: Microwave the leftovers for about a minute until it is heated through.

Serve it with
Paneer veg biryani is a meal in itself. There is rice, vegetables, protein-rich cheese... Everything that you need in one bowl! For an even more hearty meal, serve it with raita. Here are the few I recommend -
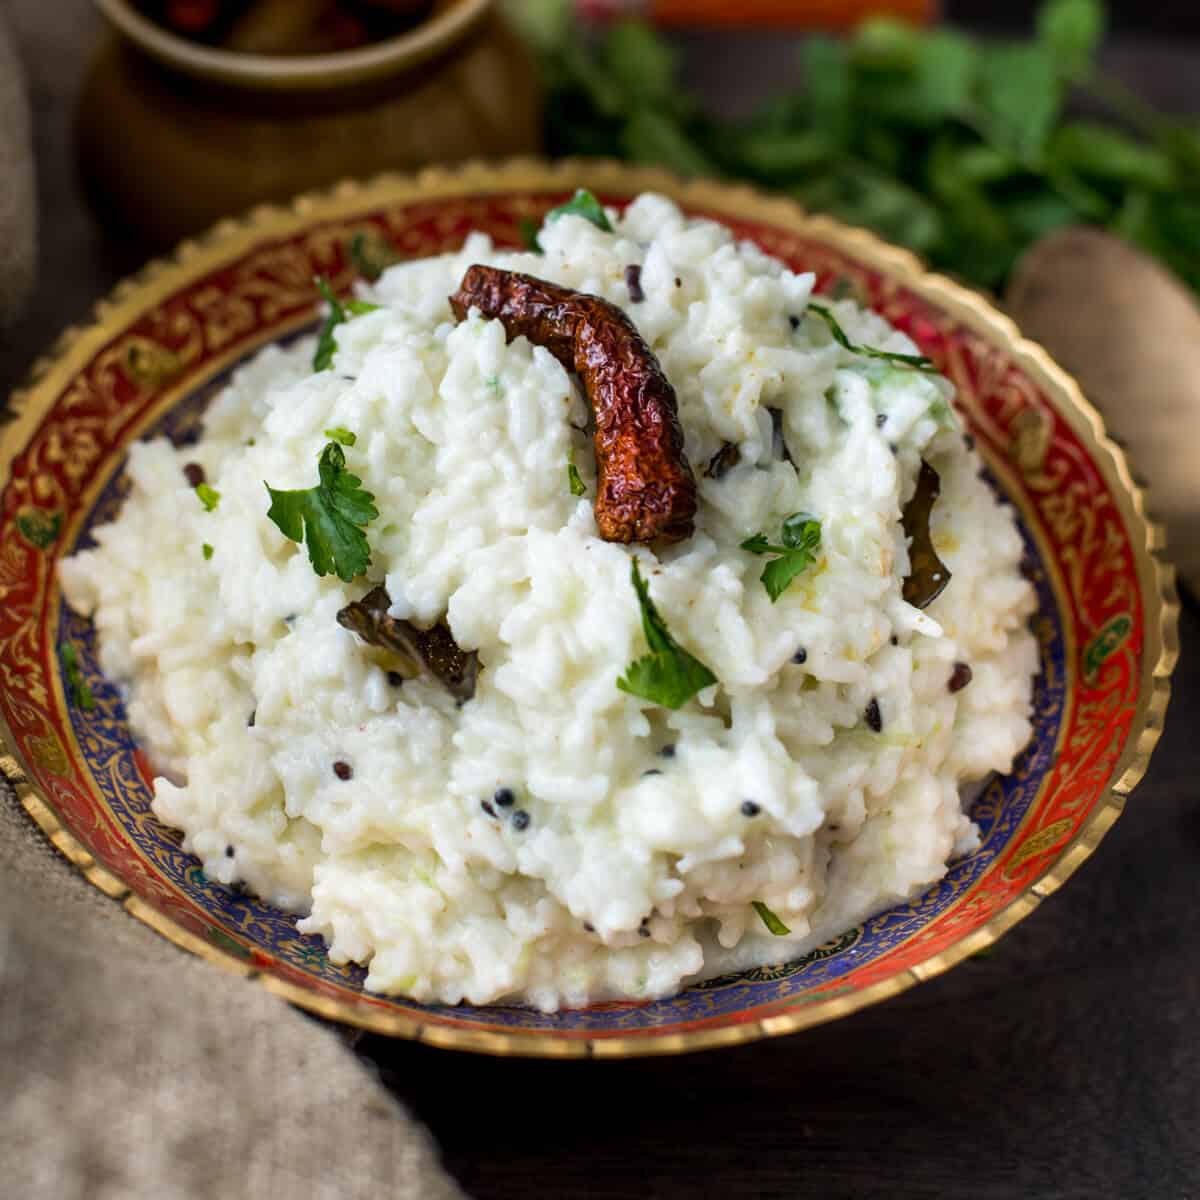
- Onion raita - Simple but flavorful, this is a staple raita we love.
- Cucumber tomato or Cucumber raita - Both are cool and refreshing, with a rather light flavor.
- Boondi raita - An easy and delicious raita recipe made from store-bought boondi.
- Mint raita - Very refreshing and bright! The mint pairs well with the mint in the biryani.
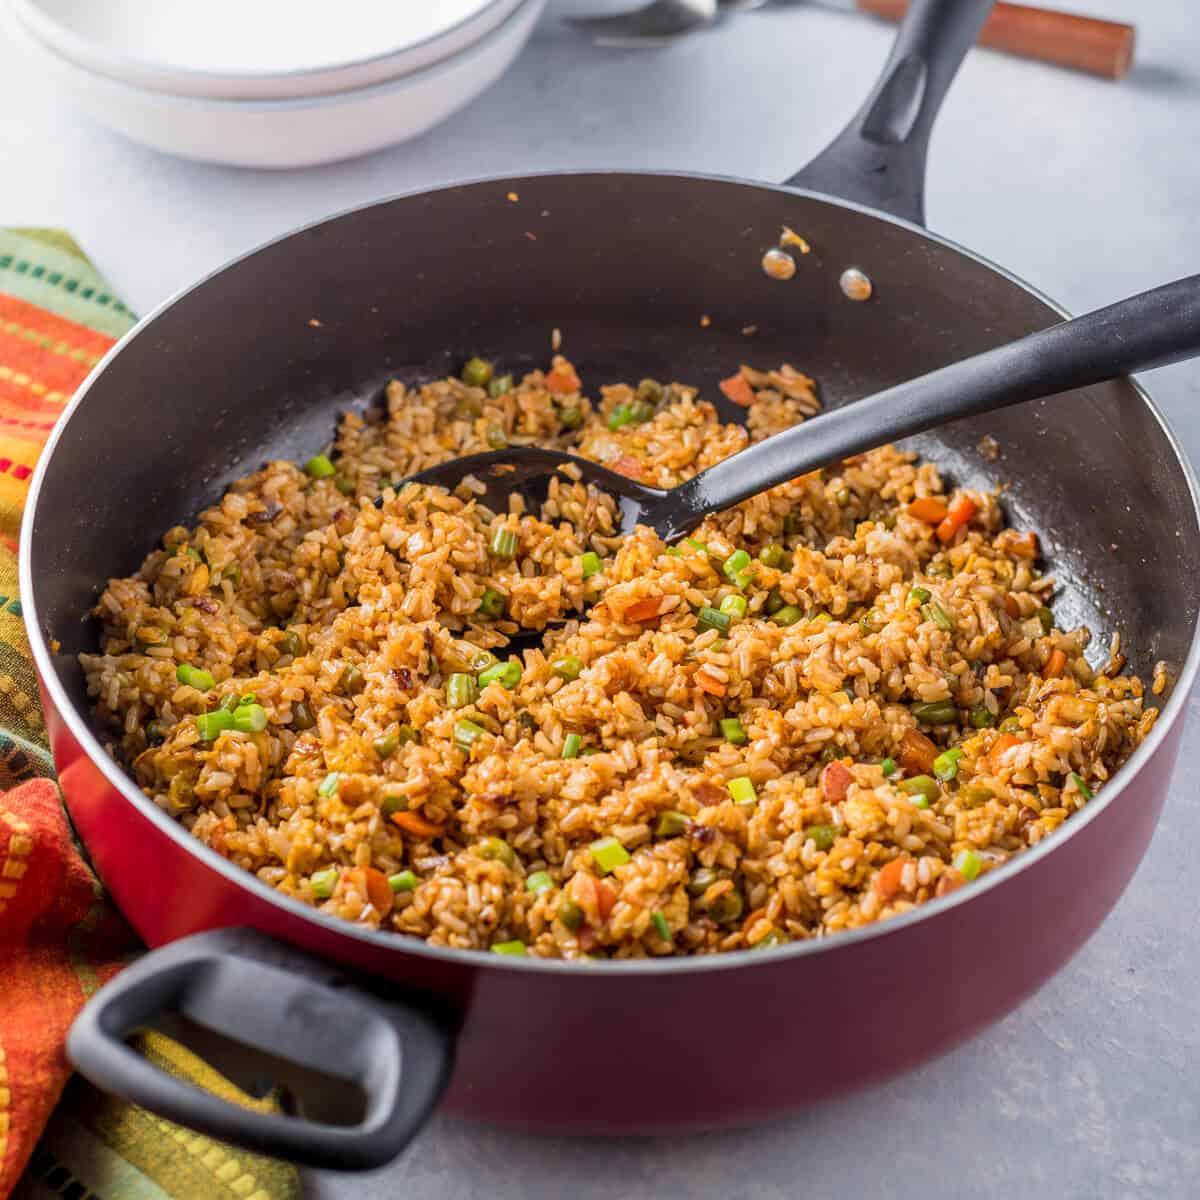
Other traditional biryani recipes to try in your Instant Pot
- Instant Pot chicken biryani
- Instant Pot egg biryani
- Instant Pot vegetable biryani
- Shrimp or prawn Instant Pot biryani
📖 Recipe
Want to save this post for later?

Instant Pot Paneer Biryani with Vegetables
Equipment
Ingredients
- 2 cups Basmati rice
- 3 cups water
To marinate
- 2 cups (200 gms) chopped paneer
- ½ teaspoon salt
- ½ teaspoon turmeric powder
- 1 teaspoon Kashmiri chili powder
- ½ teaspoon garam masala
- 2 tablespoons oil
Other ingrediens
- ¼ cup avocado oil or ghee
- 2 whole cloves
- ½ teaspoon whole black peppercorns
- 1 Indian bay leaves
- 1- inch piece cinnamon stick
- 3-4 green cardamom
- 1 black cardamom optional
- 1 star-anise optional
- 2 cups chopped onions
- 4 garlic cloves, minced
- 1 teaspoon grated ginger
- 2 Indian or Thai green chilies (Bird's eye) finely chopped
- 1 cup chopped tomatoes
- 1.5 cups corn
- 1.5 cups bell pepper, thinly sliced
- 1 teaspoon coriander powder
- 1 teaspoon Kashmiri chili powder
- 1 teaspoon salt or as needed
- ½ teaspoon turmeric powder
- ¼ cup yogurt
- 2 teaspoons garam masala
- ¼ cup mint leaves
- 2 tablespoons ghee
- finely chopped cilantro / coriander leaves for garnishing
- ½ cup store-bought fried onions optional
- 1-2 drops kewra essence
Instructions
- Soak the rice in 3 cups of water for 20-30 minutes.

- Marinate the paneer with salt, turmeric powder, Kashmiri chili powder, and garam masala. Let it sit for 5-10 minutes while you chop the veggies.
- Place a skillet over medium heat. Add oil and once heated saute the paneer until it is golden brown on both sides. Transfer it to a plate and set it aside.
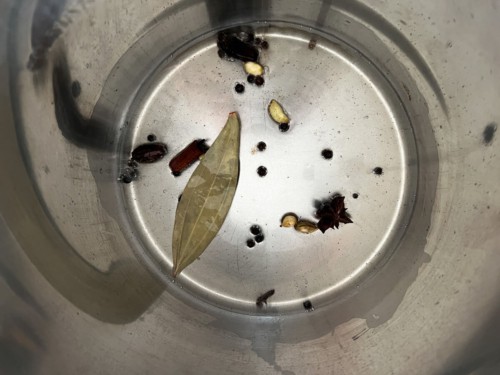
- Add oil to the steel insert of the Instant Pot and press the Saute function. Press the Adjust button to move the selection to "Normal" and wait till the display reads "Hot."
- Add peppercorns, cloves, cinnamon stick and bay leaves and when they sizzle (after 10-15 seconds) add onions.
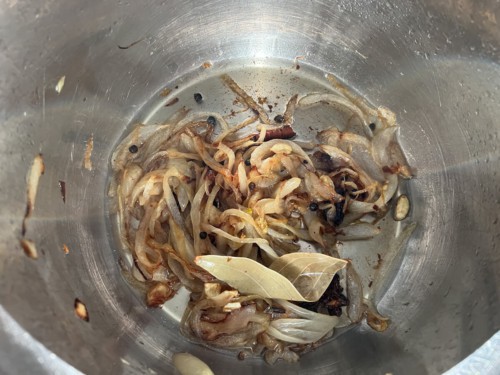
- Fry the onions till they start browning on the edges and caramelizing (approximately 8-10 minutes).
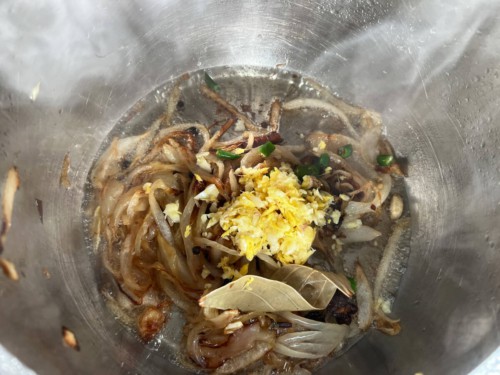
- Add garlic and ginger paste, along with green chilies. Saute it with the onions for a minute or so.
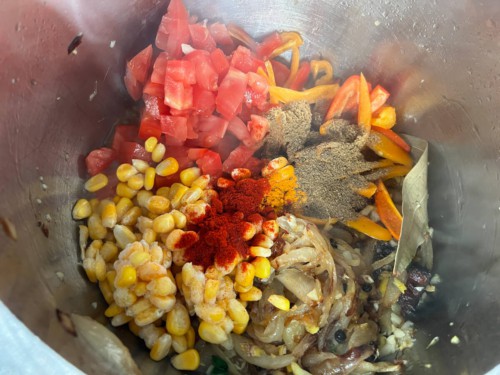
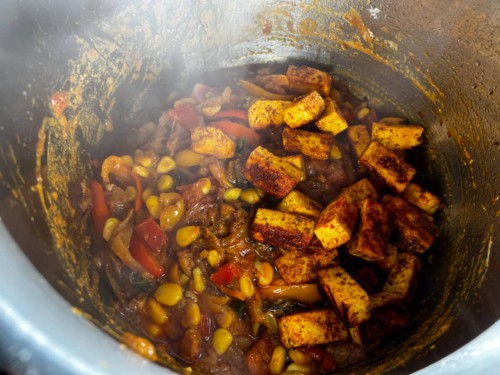
- Add corn, tomatoes, bell pepper, sauteed paneer, coriander powder, chili powder, and turmeric powder.
- Fry them for a minute.
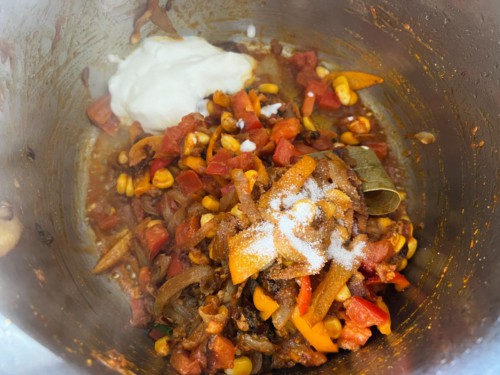
- Add the salt, yogurt and garam masala. Mix well to combine. Do a taste test - the salt should slightly be on the higher side.
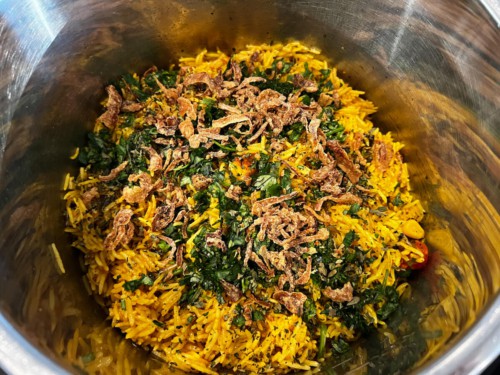
- Drain the water from the soaked rice and add the rice on top of the veggies and add just enough water (approximately 1-¼ cup) to completely submerge the rice. Top it with chopped mint leaves.
- Press "Warm / Cancel" button and then select "Pressure Cook." Adjust the time to 6 minutes and set the pressure selection at low. Cover the Instant Pot lid and lock it. Make sure the vent is at sealing position.
- Once the cooking cycle completes, the Instant Pot will switch to the Warm cycle. Press the Warm/Cancel button and carefully release pressure. Open the lid and let the steam escape.
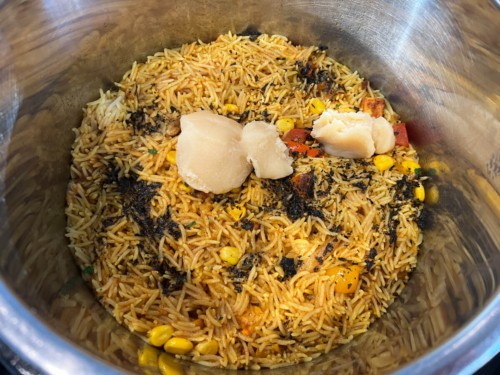
- Add ghee and wait for 5 minutes before fluffing the rice and mixing in the ghee.
- Garnish with coriander leaves and fried onions. Add the kewra essence and mix well. Gently mix before serving.
- Serve hot with raita or yogurt


Disclaimer: Approximate nutritional information is provided as a courtesy and can vary depending on the exact ingredients/brands used. If you have health issues, please work with a registered dietician or nutritionist.


Comments
No Comments