Paneer Kathi Roll
Note: This post contains affiliate links. As an Amazon Associate I earn from qualifying purchases.
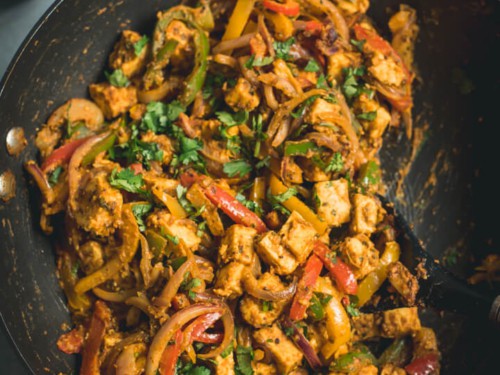
Make your weeknight dinner in 30 minutes or less with these Paneer Kathi Rolls. Seasoned paneer, onions, peppers, and tamarind chutney come together in a hand-held vegetarian wrap, perfect for busy weeknights or a quick lunch!

Table of contents
There is nothing more satisfying than getting a flavorful meal on the table in less than 30 minutes. Whether you have a busy weeknight or are looking for an easy recipe for school/work lunch, these homemade kathi rolls are sure to please. Made with seasoned paneer, bell peppers, and onions these flavorful rolls can be ready and in hand in 30 minutes.
While many kati roll recipes require marinating your filling, these quick paneer rolls cook with the seasoning so they can quickly get from the skillet to the table in no time. This traditional street food recipe will quickly become a family favorite!
Why we love these paneer kati rolls
- No marination required makes prepping these rolls a breeze.
- Tastes great cold as well as warm, which makes for a good school/work lunch option.
- Extremely versatile. You can fill the kathi rolls with a variety of different fillings or swap the parathas with rotis, naan, or even tortillas.
- 30-minute meal – These paneer kathi rolls come together in 30 minutes, making them a quick and easy recipe when you are short on time.
Looking for some mouth-watering paneer recipes? You’re in for a treat! Take a look at these more than 35 delicious paneer dishes that will surely satiate your cravings.
What are kathi rolls?
If you have never had a kati roll, also called kathi rolls, they are a traditional street food originating from Kolkata. Similar to a burrito, the ingredients of a kati roll get wrapped in an Indian flatbread, typically paratha bread but you can also use rotis or other flatbreads.
The fillings typically consist of skewer roasted kebabs made from beef, chicken, or mutton. Inside the flatbread, you can also add peppers, onions, and different sauces for a finger-licking snack or lunch.
Why are they called kati rolls?
The name kati roll comes from the word kati which means stick. This refers to the method used for cooking the meat- skewered or as a kebab. With the changes in fillings over time, the term kathi roll has come to describe pretty much all hand-held wraps and can be made with a variety of ingredients.
How to make paneer kathi rolls

Key ingredients
- Paneer – The non-melting, cheesy star of these rolls, you can use homemade paneer or store-bought.
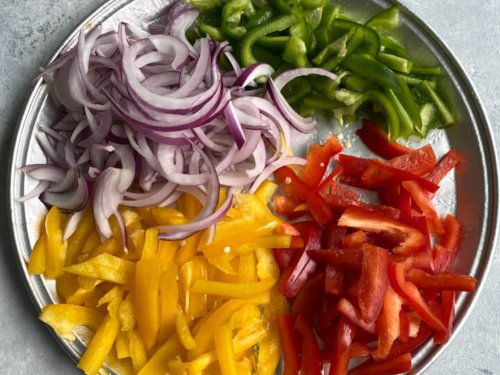
- Peppers – A blend of red, green, and yellow peppers are sliced and cooked for the filling.
- Onion – I like to use a sliced red onion, about medium-sized, for cooking with the peppers.
- Spices – A blend of Kashmiri chili powder, coriander, cumin, turmeric, salt, and ginger-garlic paste season the peppers and onion as they cook.
- Yogurt – Helps to bind the seasoning to the peppers and paneer during the cooking process.
- Chaat masala, fenugreek leaves, chopped cilantro, and chutney – Adds fresh flavor to the roll.
- Parathas – Wrap the vegetable and paneer filling into an easy-to-hold kathi roll. You can also sub in a roti if needed.
Step by Step Instructions
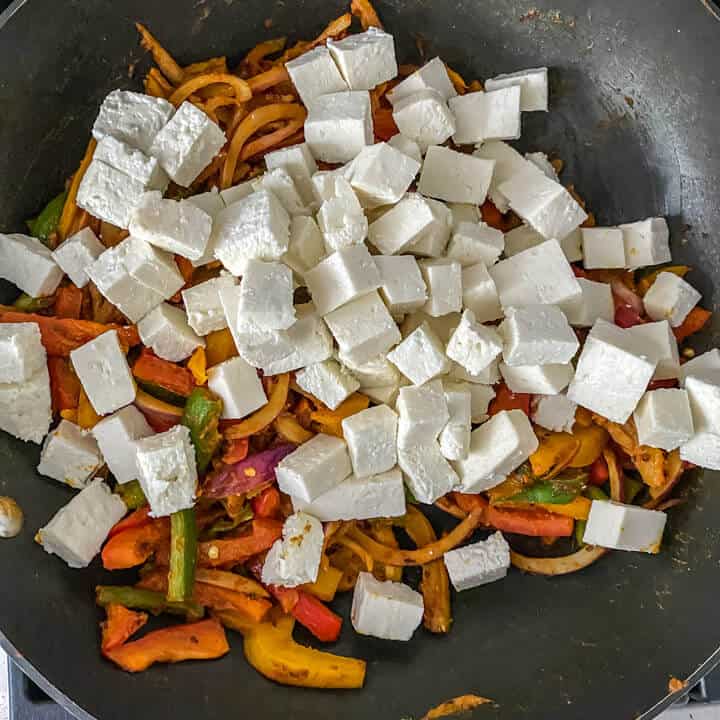
- Microwave the paneer for 1 minute to allow excess water from the paneer to ooze out. Drain the water and chop the paneer into bite-sized pieces (about 1-inch cubes).
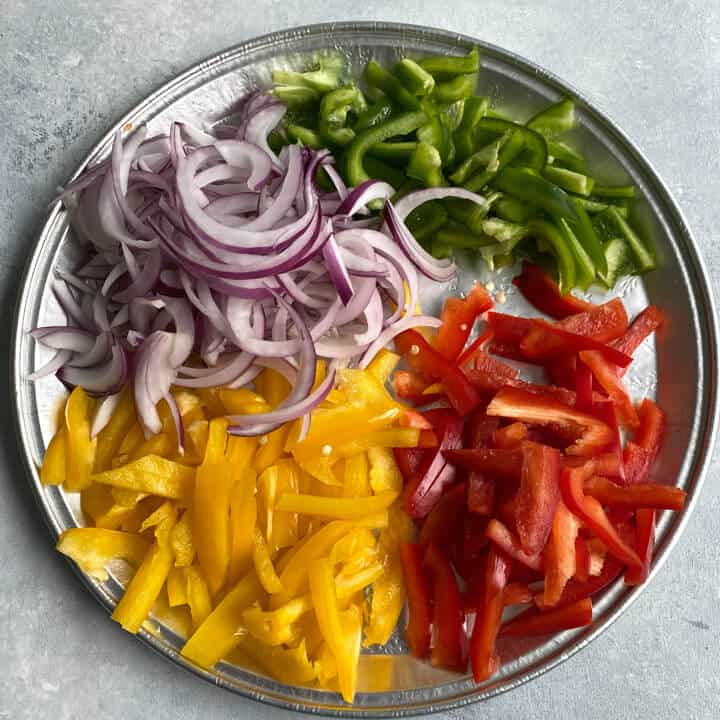
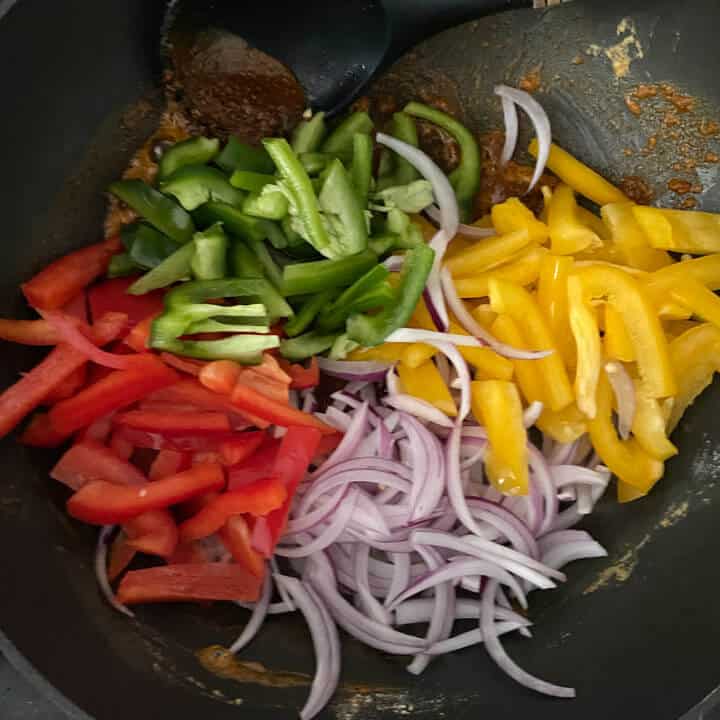
- Slice the peppers and onions into thin strips and set aside.
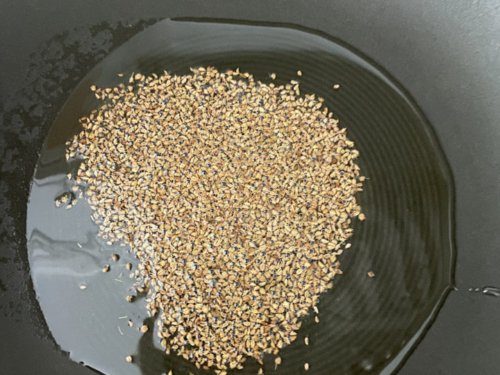
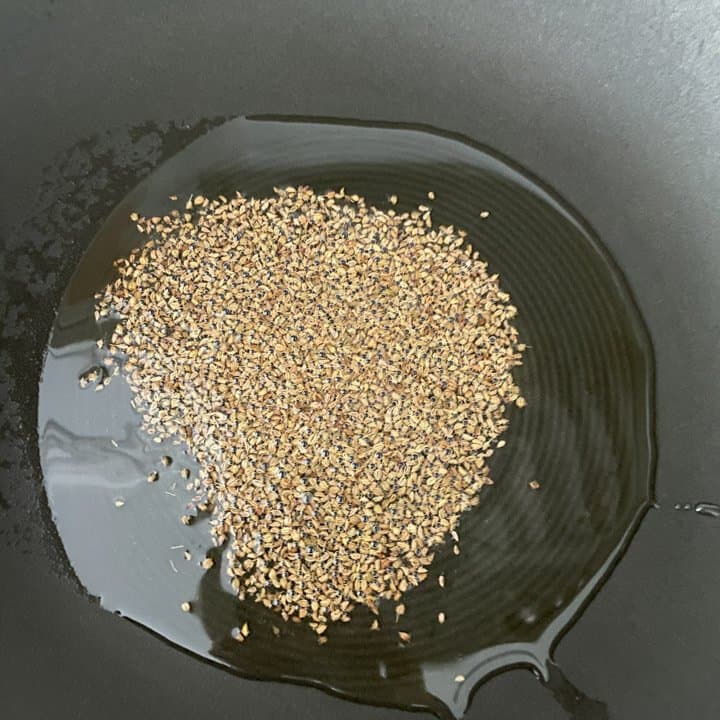
- Heat a 12-inch wok over medium heat. Heat 2 tablespoons of oil and once hot, add carom seeds (ajwain).
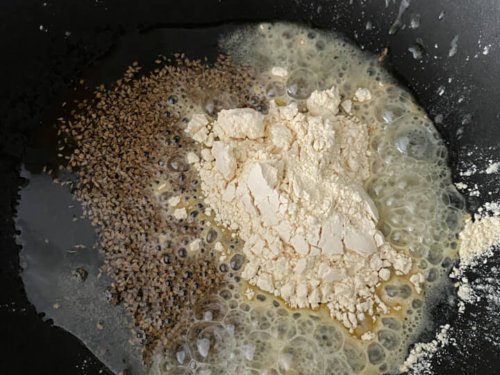
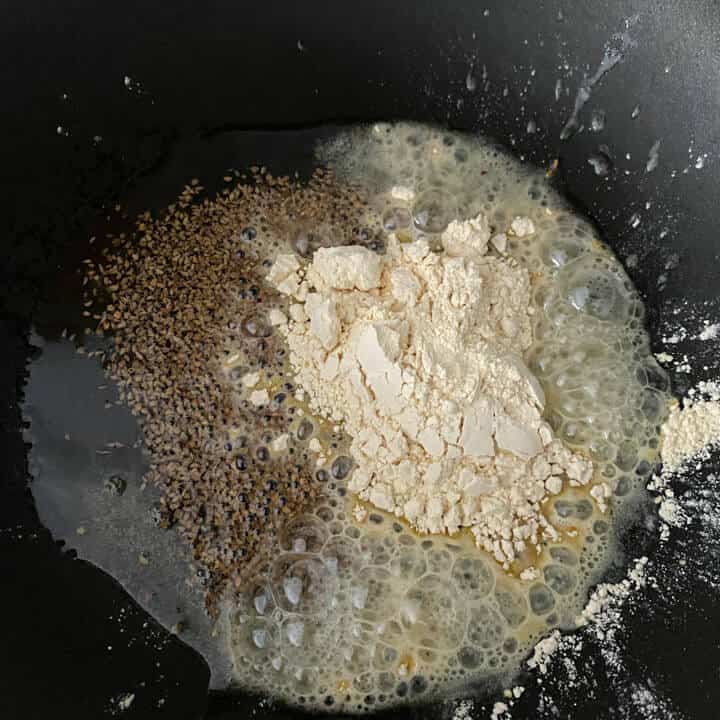
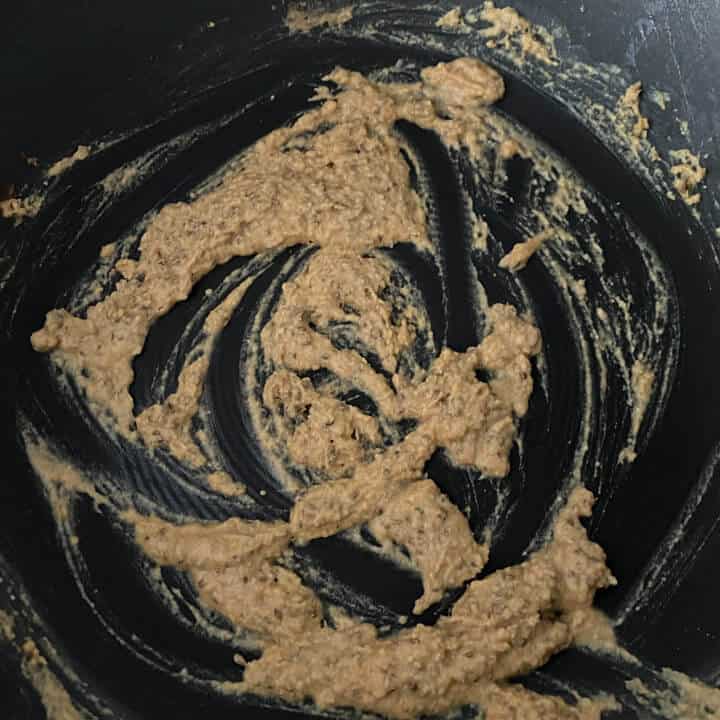
- After about 10 seconds, when the ajwain seeds sizzle and brown add besan and cook until golden brown while stirring continuously.
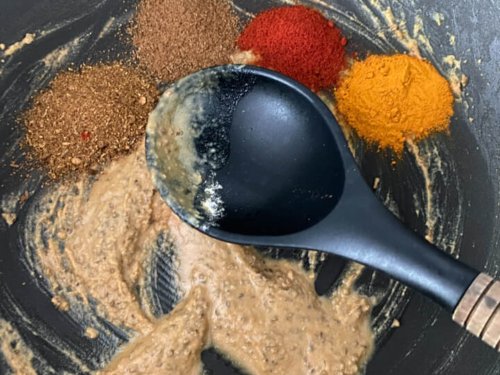
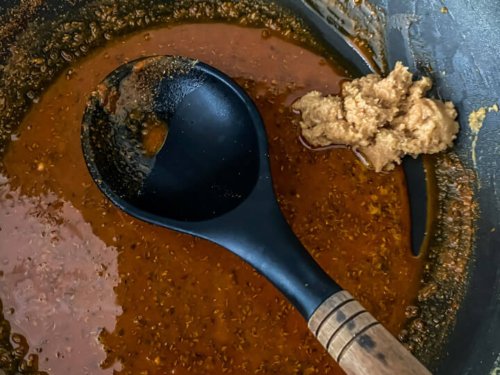
- Mix the spices – chili powder, turmeric powder, coriander, cumin powder, and salt- into the mixture and cook for about 30 seconds, stirring continuously.
- Add remaining 1 tablespoon oil to the wok, then add the ginger-garlic paste and allow to cook for about 30 seconds so that the raw taste disappears.
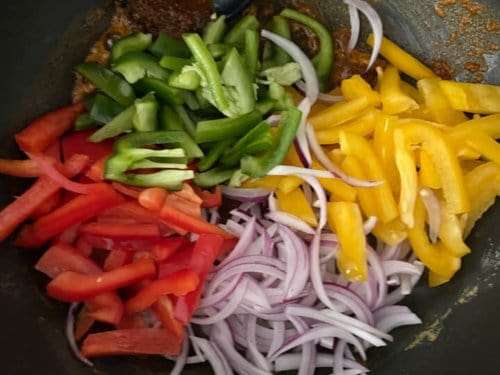
- Next, add the sliced onions and bell peppers. Mix well to combine them with the spices.
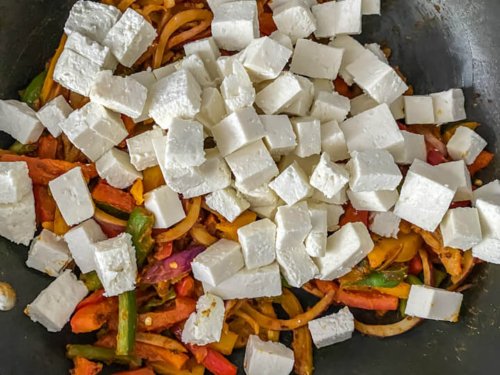
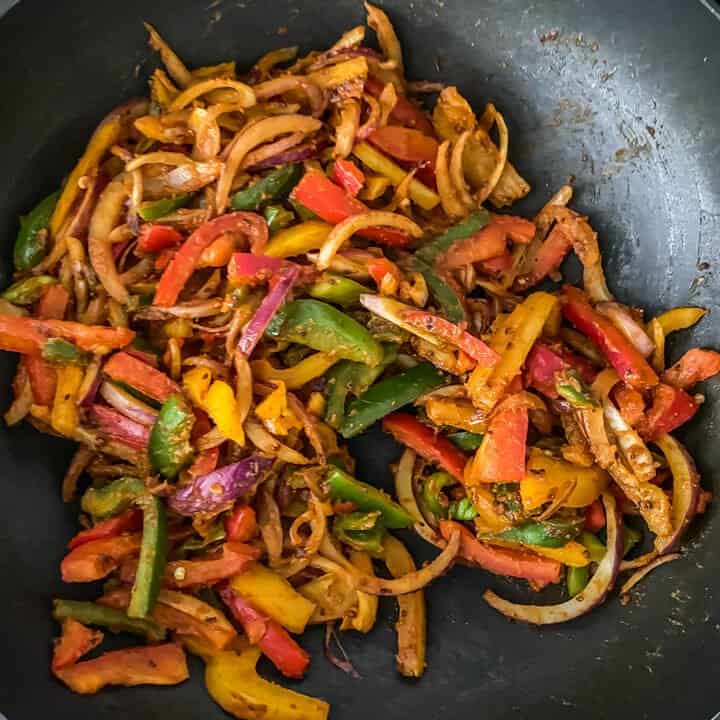
- Cook the vegetables for about 5-6 minutes then gently combine the paneer with the vegetable mixture.
- Add yogurt and mix well.
- Cook the paneer for about 2-3 minutes.
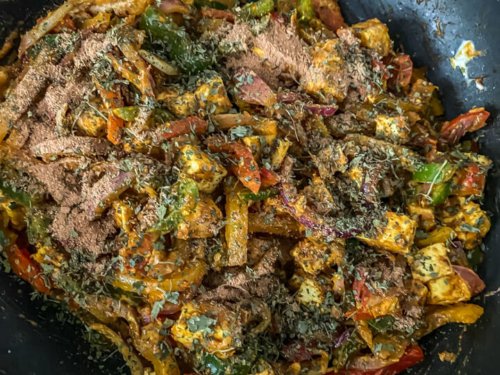
- Sprinkle chaat masala and dried fenugreek leaves over the vegetable and paneer mixture. Mix well to combine then garnish with chopped cilantro.




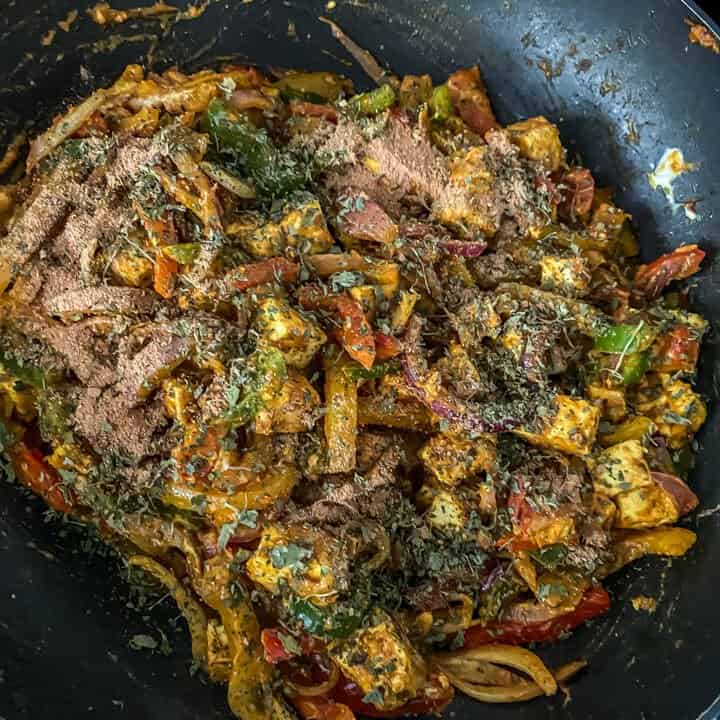
Assemble the kathi rolls
- Warm the parathas. If storebought, cook per the instructions on the package. If they are homemade, warm them before assembly.
- Evenly coat one side of the paratha with about 2 teaspoons tamarind chutney.
- Place about 2 spoons of the paneer mixture closer towards one edge of the paratha.
- Starting from the edge, roll the paratha to enclose the filling in the center until it comes together as a hand-held wrap.
- Try not to over-stuff the rolls as it will be difficult to wrap up the filling.



Recipe notes and helpful tips
- Use store-bought parathas to cut down the cooking time. Look for Kawan or laccha parathas in the frozen section of an Indian store. You can use left-over rotis too.
- Do not overcook the vegetables. You want the onions and peppers to still have a bite to them.
- If you are using frozen paneer, let it thaw overnight in the refrigerator before making the kati rolls.
- Don’t forget to microwave the store-bought paneer. This helps soften it and also removes excess water.
Ingredient substitutions and variations
- Swap the tamarind chutney for cilantro mint chutney.
- Use store-bought or homemade roti, naan, or tortillas in place of parathas.
- Add grated mozzarella cheese on top of the warm paneer veggie mixture just before rolling for an extra cheesy wrap.
- Most recipes call for marinating the paneer; I skip this step because, unlike tofu or chicken, which highly benefit from marinating, there is no significant difference for the paneer.
How to prep ahead
One of the biggest ways to save time during the meal-prepping process is to slice the peppers and onions in advance. When you are ready to cook, remove the sliced vegetables and toss them in while you are cooking.
Store the onion separately from the bell peppers. You can slice the vegetables up to 3 days in advance, but I would not recommend any longer than that as the peppers will lose their crunch over time.
How to store kati rolls
- Storing leftovers – Keep the filling, wraps, and chutney separate and store in the refrigerator for up to 3 days. When you are ready to reheat and serve, warm the wraps, heat the filling in the microwave or a wok, then put them together following the assembly directions above.
- Storing for lunch or work – If you are making these to pack for school lunches or to take to work, do not add the tamarind chutney to the wrap as it will make it soggy. Instead, pack the chutney in a container to be used as a dip.
Other kati roll variations
There are a million different ways to wrap up your kathi roll. This vegetarian recipe uses a paneer filling some other different kathi roll variations include:
- Chicken Tikka – Uses chicken tikka in place of the paneer.
- Chana Masala – Replaces paneer with chana masala.
- Aloo Masala – Made with fried potatoes instead of paneer.
Serve these paneer rolls with
From sides to beverages, here are a few different recipes that pair well with these homemade paneer kati rolls.

Frequently asked questions
There are a few differences between kathi rolls and frankie rolls. For starters, they originated in different places. The frankie roll is from Mumbai, while the kathi roll comes from Kolkata.
Another difference is between the fillings. Kathi rolls traditionally contain meat, while the frankie is usually filled with vegetables, cheese, spices, and sauces.
More easy lunch recipes
- Chutney Cheese Quesadillas– These easy cheese quesadillas have an Indian twist with some green chutney, veggies, and of course, cheese!
- Indian Inspired Chicken Lettuce Wraps– This flavorful Indian-inspired chicken lettuce wrap recipe will have you clamoring for seconds.
- Egg Parathas– Put your leftover rotis or tortillas to good use and make about two delicious and filling egg parathas in less than 10 minutes.
- Open-Faced Sandwiches– You’ll love this grilled open-faced sandwich where tangy cheese meets loads of veggies on freshly sliced bread.
- Bombay Grilled Veggie Sandwich– You’ll fall in love with this Bombay sandwich – bread slathered with butter and green chutney, layered with veggies, and then grilled to perfection.

Paneer Kathi Roll
Ingredients
- 1 lbs (400g) 18 oz paneer or cottage cheese diced into cubes
- 1 green pepper
- 1 medium sized red onion
- 1 red pepper
- 1 yellow pepper
- 3 tablespoons avocado oil divided
- 1 teaspoon carom seeds (ajwain)
- 2 tablespoons besan / chickpea flour
- 1 tablespoon ginger-garlic paste 1 inch piece ginger + 4 garlic cloves, crushed to a paste
- 1 teaspoon Kashmiri chili powder
- 2 teaspoons coriander powder
- 1 teaspoon cumin powder
- 1 teaspoon turmeric powder
- 1.5 teaspoons salt or as needed
- 2 tablespoons yogurt
- 2 teaspoons dried fenugreek leaves (kasoori methi)
- 1 teaspoon chaat masala
- ¼ cup finely chopped cilantro
- 12 cooked parathas or rotis
- ½ cup tamarind chutney
Instructions
- If using frozen paneer, let thaw in the refrigerator overnight.
- Microwave for a minute so that the excess water from the paneer oozes out. Drain the water and chop the paneer into bite-sized pieces (~1 inch cubes).
- Slice the bell peppers and onions into thin strips. Set them aside.

- Heat a 12-inch wok over medium heat. Add 2 tablespoons of oil. Once hot, add carom seeds (ajwain).

- In about 10 seconds, the ajwain seeds will sizzle and brown. Add besan (chickpea flour) and cook, stirring continuously till it turns golden brown. This should take about 30 seconds.

- Add the spice powders – chili powder, turmeric powder, coriander, and cumin powder, along with salt. Cook for about 30 seconds, stirring continuously.

- The besan will absorb the oil, so add the remaining 1 tablespoon to the wok. Add ginger garlic paste and let cook for about 30 seconds so that the raw taste disappears.

- Add the chopped onions and bell peppers. Mix well to combine with the spice powders.

- Let the veggies cook for about 5-6 minutes before adding paneer. Gently combine the paneer with the veggie mixture.

- Add yogurt and mix well.

- Allow the paneer to cook for about 2-3 minutes.
- Sprinkle chaat masala and dried fenugreek leaves. Mix well to combine.

- Garnish with chopped cilantro.

Assembling the kathi roll
- If storebought, cook the parathas as per instructions in the package. If homemade, make sure they are warm before assembling the roll.
- Evenly coat one side of the paratha with about 2 teaspoons of tamarind chutney.

- Place about 2 spoons of the paneer mixture closer towards one edge of the paratha.

- Start from the edge and roll the parathas until they come together. Note: Remember, don't overstuff, otherwise it will be difficult to roll.

Storage instructions
- The paneer and veggie mixture can be stored in the refrigerator for about 3-4 days.
- If making for a school/work lunch, do not add tamarind chutney to the parathas, as it will make them soggy. Instead, pack the tamarind chutney in a container to be used as a dip.
Notes
- Use store-bought parathas to cut down on the cooking time. You can use left-over rotis or parathas too.
- Do not overcook the veggies – they need to be crisp.
- Microwave the store-bought paneer pieces to remove excess water.
- If making for school/work lunch, do not add tamarind chutney to the rotis, as it will make them soggy. Instead, pack the tamarind chutney in a container to be used as a dip.
- You can use cilantro mint chutney instead of tamarind chutney.
- Add grated mozzarella cheese on top of the warm paneer veggie mixture just before rolling.
- Though most recipes call for marinating the paneer, I skip it because unlike tofu or chicken, which highly benefit from being marinated, there is no significant difference in paneer.
Disclaimer: Approximate nutritional information is provided as a courtesy and can vary depending on the exact ingredients/brands used. If you have health issues, please work with a registered dietician or nutritionist.

